Showing posts with label old-fashioned cakes and biscuits. Show all posts

Tuesday, March 10, 2026

Monte Carlo Biscuits

Hope's delicious Monte Carlos have been a favourite biscuit amongst our family for as long as I can remember. When our daughter said she would love Ma Ma's (my Mum's) original recipe, I was inspired to find it. I've really enjoyed doing some research, baking a few batches of biscuits, comparing her handwritten recipe with others, and now I am very happy that I can bake Monte Carlo's exactly the same as Mum did, from her original recipe. They taste perfect.

Sunday, July 30, 2023

Tropical Ginger, Coconut and Lemon Slice

Allow me to present a nostalgic and vintage style slice for you on a Sunday. At this time of year in our Southern Hemisphere Winter, which I am loving, ginger is my favourite spice, and I use it whenever I can in savoury and sweet cooking. Ginger has an irresistable combination  of hot, clean and cool flavours. Although to be honest, Middle Eastern Baharat comes a close second to Ginger for me, and I use it in my iced Ginger Cake or my Ginger Syrup Cake (same recipe). I try to always substitute Baharat for the mixed spice. 

Sunday, July 17, 2022

Delicious Fruit Mince Tea Cake


This is the perfect recipe for using up that large jar of fruit mince at the back of your pantry, which was intended for Christmas fruit mince pies, but it just didn't quite happen. Can you remember way back then? 

Friday, August 27, 2021

Lemon Crispies or Lemon Crispy Slice


The weekend is a chance to relax at home with a nice cuppa and something sweet and delicious to eat with it. This recipe is a trip down memory lane for me, and I make no apologies for this.  I've been eating this slice for as long as I can remember really as it is a family favourite, which started with my Mother making it for us, and then as our children grew up and loved it, I started making it. Most of the ingredients will already be in your pantry, however the secret ingredient is lightly crushed Corn Flakes. Yes my friends, Corn Flakes might not be on your breakfast list anymore but they are still on the supermarket shelves, and they give this slice a delightfully crisp biscuit base, which combined with the tangy lemon icing on top brings this slice to the party.

When our children were still living at home, our family would always love travelling to visit my Mum in Rockhampton, Central Queensland, knowing that there would be home baked cakes, biscuits and slices waiting for us on arrival. She was a great sweets cook, and a good cook in general really. She used to make this Lemon Crispy slice much earlier on and then for some reason it dropped off her baking repertoire. Mr. HRK and the children would continue to request it, however as she aged, her favourite few slices and cakes, which were all very nice, would still reappear. Perhaps she lost the recipe or perhaps her arthritic hands found it difficult to cut crisp slices in baking tins. Unfortunately, I never thought to ask Mum why she no longer baked it, because I didn't really know what it was called, except that I knew it was delicious, lemony, and contained corn flakes, which I think is the secret ingredient.


I found Mum's recipe recently when I was reading her old recipe books, which are amongst some of my most treasured possessions, and went out and bought Corn Flakes specifically so that I could make this slice. I was pretty excited I can tell you. The corn flakes give the biscuit base a crispness and slightly nutty flavour, complimented beautifully by the slightly tart lemon icing sprinkled with coconut sprinkled on top. It turned out perfectly, and Mr. HRK has given it the seal of approval. I urge you to make this, it can be ready for the oven inside 20 minutes, and only takes 20 minutes to bake as well. If you are reading this now, you could have it made in time for morning tea this morning. You will be amazed how easy it is to make, and how delicious it tastes. It's now at the top of my baking repertoire list.

Ingredients:

3/4 cup sugar
1 1/2 cups lightly crushed cornflakes
185 g butter, melted
1 1/2 cup SR flour
3/4 cup coconut
2 tablespoons coconut, extra


Lemon icing:

2 cups icing sugar
2 tablespoons lemon juice (approx.)
15 g. butter, softened

To make the icing:


Combine sifted icing sugar with softened butter and enough lemon juice to mix to a thick spreading consistency. Keep beating the icing until very smooth and spreadable. It will spread beautifully over the hot biscuit base when cooked.

Let's cook:


1. Combine sugar, sifted flour, lightly crushed cornflakes and coconut in a bowl, and stir in the butter.
2. Press evenly with your hands or a small bottle into a greased and lined Swiss roll tin (25cmx30cm).
3. Bake in a moderate oven for 20 minutes or until golden brown.
4. When still hot, spread with Lemon Icing, sprinkle with extra coconut.
5. Cool slice in the tin, and cut into desired sized squares when still slightly warm as it is easier to cut.


Cut into small dainty pieces, this would also be perfect served as part of a High Tea.


The secret ingredient


Warm wishes

Pauline

Sunday, February 14, 2021

Melt in Your Mouth "Custard Kisses" for Valentine's Day

Happy Valentine's Day everyone. I found this nostalgic recipe for Custard Kisses in one of my Mother's old recipe books and I thought they would be perfect to make for Valentine's Day for a little treat. They are a beautiful, melt in the mouth, dainty biscuit, perfect to enjoy with a cup of tea.

Saturday, March 28, 2020

Very Easy White Butter Cake, a Family Recipe and Never a Failure.


 I'm back to baking this weekend and it feels great. This delicious cake to mind, when ingredients are so hard to come by in the supermarket during this critical period of increased stocking up by so many people, and rationing of the number of ingredients we can buy is the new normal. 

Monday, October 28, 2019

Gran's Scottish Shortbread recipe


You can call this Christmas shortbread, Scottish shortbread, Plain shortbread, Delicious shortbread, Granny's shortbread, or Vintage shortbread. What's in a name anyway, because the main thing is that this is a delicious recipe and a cinch to make. If you have plain flour, icing sugar, butter and a pinch of salt in your kitchen cupboards, you can make it. The only obstacle could be the 7 inch or 18 cm diameter tin needed to bake two shortbread circles in, but I will talk about that later.

 I have torrents of Scottish blood running through my veins, so when I made this I thought of all my Scottish ancestors, my dear Mum and also my favourite Great Aunt Eilleen (not on the Scottish side) but a great cook, who always produced delicious shortbread at Christmas time, which is the traditional time in Australia to eat shortbread.These are mouth wateringly good and have the distinctive buttery flavour unique to shortbread.


So this was a practice run for me my friends, as in case you didn't realise, it's only two months until Christmas (sorry) and I always like to introduce at least one  new cooking achievement at Christmas to surprise our family. This will be it. This is a very old recipe, which was given to me by a friend, also called Pauline,  who is a long standing member of my Book Club group. I've only just joined this group and am really enjoying it. Book club Pauline made this for the first book club meeting I attended, and then again at the third one held at her beautiful home, as part of a lovely afternoon tea spread, as it was one of the lady's birthdays. Pauline said that she was given this recipe by her Gran, and it was the first  sweet thing she ever cooked after she was married, and now it is the only biscuit she ever cooks. I feel very privileged to have been given this recipe, so thank you Pauline. 

I am really enjoying the Book Club, and what strikes me as special is that everyone who attends is valued for their individual opinion about the chosen book we have all read, and every comment is treated with interest and respect. It also doesn't matter if you haven't managed to read the whole book, as the conversation is always stimulating and quite intelligent, and afternoon tea is always delicious, a definite plus. The latest book we read was a collection of short stories by Western Australian author Robert Drewe, titled "The True Colour of the Sea". Each story was linked to water in some way. I haven't read a collection of short stories for a long time, but I loved this author's quirky writing style and how he engaged the reader from the first page. Well worth a read.


The only potential problem for me with this recipe was that because it is very old, it requires two x 18cm or (7 inch) shallow cake tins which can't be bought anymore. Perhaps they can be found in the cities where there are more specialist kitchen shops or at garage sales or op shops. I had two of them which were my Mum's but they are now in Cairns in my daughter's house. Cake tins, saucepans and cutlery sets have often been passed down through generations, however the healthy emphasis on decluttering has possibly curbed that tradition. When Mr. HRK got wind of my cake tin dilemma, he sprung into action and was off to the Incredible Tip shop before I could say Jack Robinson, looking for some stainless steel to make two specially designed cake rings, similar to the  egg rings we used to poach eggs in but much larger. Do you remember those? I remember them being difficult to clean. In the end he found what he wanted at Bunnings, of course, and I now have two custom designed aluminium cake rings, 18 cm in diameter, with a lip for easy removal. Perfect for the task in hand. I told him he should patent the design, but he is a very modest handyman.


Both of them fit on my large biscuit tray and they worked a treat for cooking the shortbread. Having said all of that my friends, a shallow 8 inch cake tin would probably work just as well,  as most of them have a  7 inch (18cm) diameter base anyway. With a high sided tin though, it is trickier to remove the shortbread triangles from the tin. The cake rings are both perfectly circular although the photo makes one look a little bent.

I  have a family Scottish tartan which my Mum and her Granny were very proud of, the Royal Stuart tartan. I was pretty excited about it as well,  and then we visited Scotland and it was everywhere in the tourist shops but of course I bought a scarf anyway, which makes a rare appearance in the North Queensland Winter, ha ha, or in these shortbread photos.


Mr. HRK also has a Scottish tartan, the MacGregor clan tartan; his ancestors originated from the unruly MacGregor clan in the Scottish Highlands, the name was even banned at one stage, not nearly as refined as mine ha, ha. I could tell you the very interesting story of how shortbread was really launched in Scotland by Mary, Queen of Scots, but can be traced back in a variety of forms to the 12th century, and how it is still traditionally offered to the "first footers" at New Year. However look it up here on Historic UK if you are interested in knowing more. There is plenty written about this iconic Scottish biscuit, and I love the history of foods, but I think we need to bake don't you?


Let's Cook:

Ingredients converted from the original imperial to metric measurement:

3 oz (87 g) sifted icing sugar

6 oz (175 g) softened butter
8 oz (225 g) sifted plain flour
pinch of salt

Equipment:

2 x 18 cm (7 inch diameter) shallow cake tins

Method:

Dust 2 x 18 cm (7 inch) diameter shallow cake tins with plain flour. I dusted my biscuit tray with plain flour, and greased the cake rings.


Heat oven to 140 deg. C


Beat together (87 g) 3 oz sifted icing sugar or icing mixture, and (175 g6 oz butter until pale and creamy. If the butter is softened, this takes hardly any time at all.


Add a pinch of salt to 225 g (8 oz plain flour) and sift it.

Fold flour into mixture, about a quarter at a time.


Remove mixture from the bowl and bring together on a floured bench.


Divide into 2 equal portions and press into the cake tins.


 I then rolled it with a small bottle to smooth out the surface.


Mark around the edges by pinching the mixture between thumb and forefinger (not essential if this doesn't make sense).


Take a cocktail fork or skewer and press about a dozen holes into the mixture. Shortbread always looks very attractive and tastes sweeter if sprinkled lightly with caster sugar before popping it in the oven. I omitted that step but I will do it for the Christmas version.

Bake for about 40 minutes (if you like it even crispier/crunchier cook for a bit longer). Mine took 50 minutes and was perfect, but definitely check it after 40 minutes. It should be very slightly browned.

Remove the tins or the biscuit tray onto a wire cooler and immediately cut into 12 triangular pieces as with a pizza.

Allow to cool in the tins.


If you don't have scales that show imperial as well as metric measures, the following is pretty close:

3oz = 87 g   6oz = 175g   8 oz = 225 g

Shortbread continues to be a lovely gift to bake for friends at Christmas time, and wrapped in tartan or presented in a beautiful biscuit tin, with a tartan ribbon, I think it is still considered to be special holding a certain mystique about it.


Thanks for dropping by,

Best wishes,

Pauline


Thursday, August 1, 2019

Enjoying the Mackay beaches with Locky, our Chocolate Border Collie and an iconic biscuit recipe


Meet Locky, our beautiful chocolate Border Collie, who is taking a sabbatical with us whilst our Perth family travel overseas to the Falkland Islands to work and live for a few years. An early morning excursion to Far Beach at South Mackay with Locky, who claimed the beach and the tranquil Coral Sea as his own. With a tennis ball to chase, he was in doggie heaven.


Locky is 8 1/2 years old, and the thought of him travelling by boat all the way to the Falkland Islands, undergoing quarantine procedures which are even worse and more stringent on the return journey, worried Mr. HRK and me so much that we offered to look after him whilst they are away.


Locky not only looks very handsome, he also has a very placid nature and has adapted well to life on the North Queensland Tropical coast. After all he is originally a Queenslander being born in Brisbane. It's not as if he was coming to live with strangers as we have had a lot to do with him during many visits to Perth, and we also looked after Locky and Kali his sister, a black and white Border Collie during one of  our sons's overseas trips. Sadly Kali was run over and died a couple of years ago, so now it's just Locky and he is much loved and very precious to the family.


He flew back with us from Perth two weeks ago and handled the flight beautifully, after sad farewells.


Beach construction at Far Beach
One of the wonderful things about owning a dog is the exercise we find ourselves now doing.  Mr. HRK takes him for a walk around the neighbourhood on the leash most mornings, and I oblige most afternoons. He is very well trained in that regard. He doesn't bark at those other "naughty" barking dogs, and sits for us when its time to cross the road to look for cars before crossing, yes really :)


But as you can see from the photos, we have had more excursions to the beach in the last couple of weeks, than we have had in the last couple of months. It is a beautiful time of the year to go for walk along the beach, even in the middle of the day, and if Locky has a tennis ball to chase, he'll wade through the ocean to retrieve it.


We can't throw a ball as far as we used to be able to so a tennis racket comes in very handy and gives Locky a good run. However being 8 1/2 now he has a bit of arthritis in his hindquarters so we have to be careful not to over exercise him. Good excuse eh?


So peaceful


On this particular day at Far Beach the tide was in, it can go out for miles, so that was great for photos and also it's nice to be close to the ocean.

When Locky arrived home with us, he had a cold weather coat which needed some grooming. He seemed to enjoy his first haircut in the North Queensland sunshine.


Below, with Locky at beautiful Black's Beach, Mackay, a doggie beach, on another outing


Speaking of exercise, when we were at Black's Beach, I noticed these Fitness Stairs recently built by the Queensland Government. A challenge for next time, perhaps? I'm sure there is a beautiful view from the top.


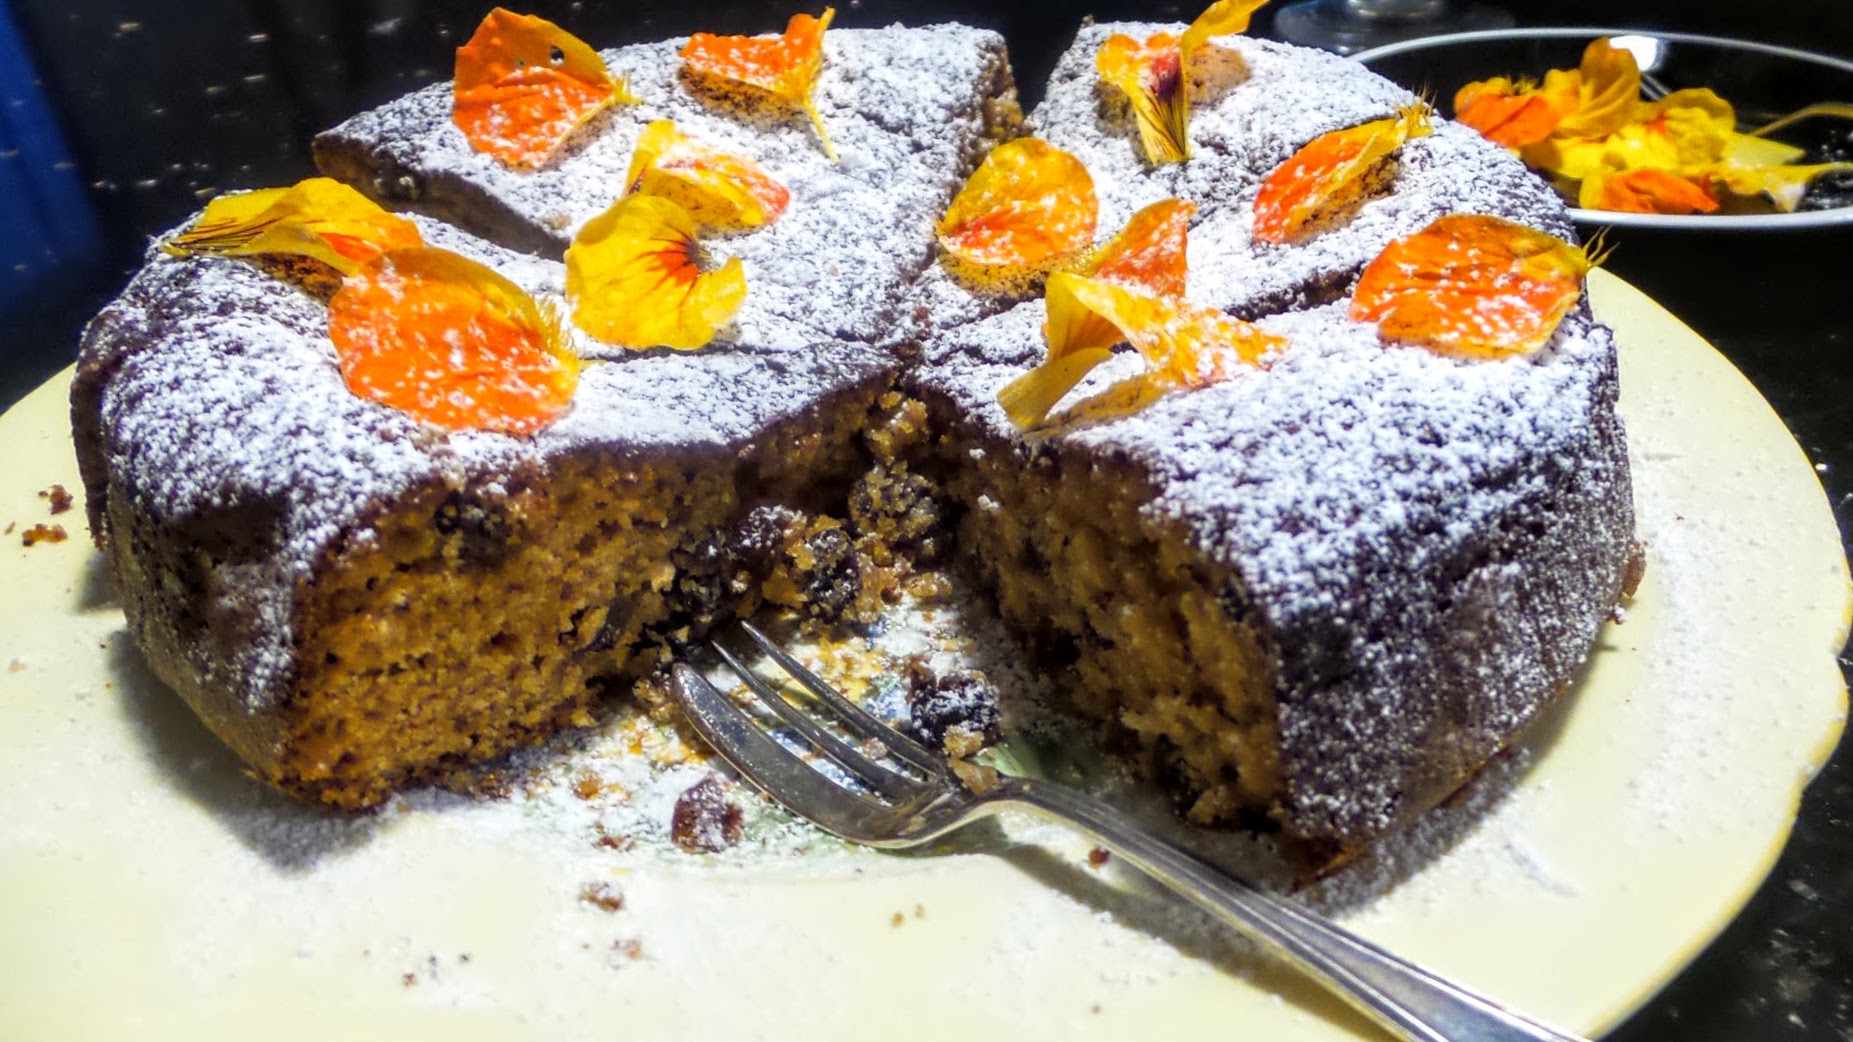
However my friends, besides hanging out with Locky,  I have also been quite busy in the kitchen, perfecting a batch of Anzac biscuits for posting, and making Passionfruit butter. I know that Anzac biscuits travel well, being the original reason that there were no eggs in this recipe, so I thought I would send a batch to Perth before our family leaves the country, a farewell care package, along with a few other things. My second attempt worked perfectly, this time using only 1/2 teaspoon Bicarb soda instead of a whole teaspoon, who would have thought there would be so many different recipe variations to this iconic recipe. Do you have a favourite one my friends that you bake on Anzac Day? Anyway I am now well and truly prepared for next Anzac day on the 25th April, 2020, ha, ha. I will be making bucket loads full of them. After all, before they were even called Anzac biscuits, this is the biscuit that was baked by the women left at home during World War 1, to be sent overseas to the Australian and New Zealand Army Corps soldiers. Much nicer than Bully Beef don't you think? The original recipe is available and can be downloaded for free here, if you are interested. This biscuit has a remarkable history. They are still a great fundraiser for the RSL and other groups around Anzac Day and continue to sell well all year round.

A batch of these biscuits are now en route to Perth in a Cadbury chocolate tin

ANZAC BISCUITS 


This recipe makes about 24 biscuits.

Ingredients:

1 cup rolled oats
1 cup plain flour
1 cup sugar (caster preferably)
3/4 cup desiccated coconut
2 tablespoons golden syrup
125g butter ( Originally, they probably used margarine)
1/2 teaspoon bicarbonate of soda
1 tablespoon boiling water
pinch salt

Method:

  • Melt the syrup and butter together over a low heat in a small saucepan
  • Mix the soda with boiling water and add to the melted butter and syrup. Wait for it to froth up. If it doesn't, you know that the bicarb soda is old and needs replacing
  • Mix the oats, sifted flour, sugar, and coconut together
  • Add the frothy syrup and butter mixture to the dry ingredients
  • If the mixture seems to be a bit wet, just add a little flour and mix into the dough until it is a good consistency to form into balls
  • Place tablespoons of the biscuit mixture onto a baking tray, lined with baking paper
  • Press down the biscuits slightly with a fork which may need to be dipped in flour
  • Bake in a slow oven, 150-160 deg. C, for 20 minutes until nicely browned. They will crisp up when they are taken out of the oven to cool.
Makes about 35.
Crisping up
Oh what  difference a dog makes. 

Best wishes


Pauline

Saturday, June 29, 2019

Classic Carrot Cake with lots of Cream Cheese Frosting, It's a Birthday Celebration


When a friend is cooking dinner, and you discover it's also their birthday the following day, what do you take to dinner besides a bottle of wine, a birthday cake for dessert of course. 

Tuesday, April 16, 2019

My Mum's Coffee Walnut Cake, or is it a Slice?


The flavours of coffee and walnuts are meant for each other, and I have always loved this cake. I found the recipe the other day when I was searching through my Mum's hand written recipe books, and it made me quite nostalgic. 

Monday, June 18, 2018

Pumpkin and Apricot Fruit Cake


Boiled fruit cakes are a great standby to have on hand in case of people dropping in for a cuppa without much warning or if you are busy and won't have time to do much cooking. They take a little while to make, however they are very simple to do. I think it is a good idea to have a boiled fruit cake recipe in your cooking repertoire when planning ahead for morning and afternoon teas, or homemade lunchbox treats etc.

This one is based on the pumpkin fruit cake my Mum used to make. I've increased the amount of  mixed fruit and added a cup of Apricot Nectar, a tip I saw on the back of a Sunbeam mixed fruit packet, resulting in a very moist cake which cuts beautifully. I buy the most economical mixed fruit available, preferably one with glace cherries in it though. A can of Apricot Nectar contains two cups of nectar so it is cost effective for me to make two cakes at the same time. I really enjoy baking a fruit cake in Winter, with the delicious and nostalgic aromas wafting through the house and the oven warming up the kitchen.

Ingredients:

500g (16 oz.) dried Mixed Fruit ( or include 125g. (4 oz.) each of sultanas, chopped dates,and chopped raisins in the 500g.)
1 cup brown sugar
1 tablespoon golden syrup
125g (4 oz.) butter, chopped
1 cup Apricot Nectar
1 tsp bicarbonate of soda
2 eggs, lightly beaten
1 cup Plain flour, sifted
1 cup Self Raising flour, sifted
1 cup well drained cooked pumpkin, mashed and cold (I cook this the day before and refrigerate)


Let's cook:

Grease and line a 20cm round cake tin

Place the mixed fruit, sugar, syrup, butter, and apricot nectar in a large saucepan.

Bring to the boil, stirring continuously, and then simmer gently for 10 minutes.This will plump up the fruit beautifully.

Remove saucepan from the heat and add the bicarbonate of soda.  The mixture will froth up. Keep stirring gently until the frothing dies down. If it doesn't froth up, it means the bicarb of soda is probably stale and won't work properly.

Allow the mixture to cool.

At this stage preheat your oven to 160 degrees F.

When mixture has cooled, add the cold pumpkin and then the eggs and beat in gently until mixture is smooth.

Then add the flours and mix well to combine.

Place the mixture in the cake tin and bake for 90 minutes. Insert a skewer into the cake to check it is cooked. It will come out clean if the cake is cooked.

Original Pumpkin Fruit Cake recipe. Mum always used Fairy Cooking Margarine, much cheaper, and the results were still delicious.


Thanks for dropping by.

Warm wishes

Pauline


Sunday, June 3, 2018

Chocolate Chews, a Delicious Chocolate biscuit Slice

Do you ever need to bake something quickly on the weekend when you hear that friends are coming over later, and you have a lot going on? This is a chocolate biscuit slice to solve that problem. So quick and easy and delicious as well, and who doesn't love a chocolate slice with chocolate icing. If you have nuts on hand, crush a few and sprinkle them across the top while still warm, or sprinkle coconut over the top. If you are cutting down on sugar, I think that a sugar substitute would also work well in this recipe. 


This recipe is from one of my Mum's original recipe books which I was reading through just the other day, and I spotted this one. Now that I have baked it, I realise that she made it frequently and we always loved it. I never knew that she called it Chinese Chews though, but then I never asked. It was just Mum's Chocolate slice. I love the back story behind family recipes however I don't know it for this one unfortunately. I'm fairly sure though that a friend from Church gave it to her many years ago.

This recipe is also unlike some of the other Chinese Chews recipes which also include nuts and dates. I have no idea why this one is different, however the ingredients in this are simple and always on hand.  During very hot weather though, I suggest you keep it covered in the refrigerator, or it will lose it's nice chewy texture.  

Ingredients:

1 cup Self Raising Flour
1 cup coconut
1 1/2 tablespoons cocoa
1 beaten egg
1 cup sugar
1 cup mixed dried fruit
125g Melted butter

Let's Cook:

Place the dry ingredients in a bowl.
Add the melted butter and the beaten egg and mix well.
Press onto a greased slice tray.
Cook until slightly brown, and firm to the touch. It will be coming away from the edge of the slice tin. This will mean the edges are nice and chewy.

Ice with Chocolate icing while hot using a warm knife dipped in hot water , and cut into squares.

This is the original hand written recipe from my Mum's recipe book, and as you can see she thought it was good, always a good sign LOL. I know that Mum often used Fairy margarine when cooking, now of course I generally use unsalted butter unless otherwise specified, however it was also a matter of economics back in the day. 1/4 lb of melted Butter or Marg. in the recipe instead of 125 g. is always a giveaway as to the era of the recipe.


Chocolate Icing:

I rarely measure ingredients when I make icing, so I made a special effort to do that this time:) With icing, it is often just about adding enough liquid or more icing sugar until the desired consistency is achieved. However the following ingredients are as close as possible to what I used this time.

 Ingredients:

1 cup icing sugar
1 1/2 tablespoons cocoa
1 tablespoon melted butter
2 tablespoons warm milk
Some warm water if needed

Method:

Sift the icing sugar and cocoa into a medium sized bowl.
Add the melted butter and mix into the icing sugar.
Add the warm milk and mix in well until the chocolate icing mixture is glossy and just runny. If it is still stiff, add enough warm water, very slowly, until it is spreadable. The icing will firm up as it cools. It can then be smoothed onto the hot slice base with a knife dipped in hot water.

Chinese Chews just iced
Please leave a comment and let me know what you think of this recipe. Do you have any idea about the origin of the Chinese Chews biscuit recipe that you might have?

Have a relaxing Sunday everyone.
Bye for now

Pauline

An original recipe by Pauline @ Happy Retirees Kitchen