
Monday, February 27, 2023
Cheesy Broccoli Fritters, Baked not Fried
Friday, February 24, 2023
Pears Baked as in Savoy or French Savoie

This is a stunning fruit dessert, inspired by the Savoy region in France. It consists of the simplest ingredients and is delicious despite containing no wine, but it will pair beautifully with your best bottle of dessert wine or sticky. It really is an exercise in simplicity, with pears, butter, cream, sugar, a vanilla bean, and that's all. The pears cook to perfection, surrounded by the most delicious sauce. This is a French recipe so there's no shortage of beautiful butter. Thanks Stephanie Alexander for the inspiration to take the humble pear to the next level for dessert. It's interesting that Stephanie in her acclaimed cookbook, "Cook's Companion" doesn't provide any illustrations for most of her recipes but she doesn't need to, her reputation speaks for itself. There are photos on her website though.
Saturday, February 18, 2023
Green Coriander Pesto and Superfood Pea Spaghetti

It's all about being healthy and going green for me, on Meat Free Monday. It's my birthday tomorrow, not a significant one with a zero at the end, but at my age every birthday is special, and I'm sure there will be a few treats, so Monday's repast will need to be simple and delicious. There are some nights when just a quick and healthy pasta dish is required. I try to focus on adequate fibre content with our meals, and sorghum spaghetti ticks all the boxes. Its full of protein, dietary fibre, vitamins and minerals, and its gluten free which is always handy to have on hand, in case of visitors requiring a gluten free meal. This is very much a vegetarian recipe which I cooked last week, and the Yeast flakes which are essentially vegan can easily be swapped out for 1 cup grated cheese. Yeast flakes aren't an ingredient I would normally cook with but it has many other uses so it won't go to waste. I'll be cooking this dish again this Monday. It's ready in 30 minutes, so it doesn't get much easier than that.

This recipe was on the back of the Ceres Organics Sorghum Spaghetti packet (no promotion intended) which I found at our local Mifsud's Fresh Fruit Barn in Mackay. They stock a lot more interesting products than the average fruit barn and the freshest of produce. Quite a few local restaurant chefs shop there frequently. My interest in using sorghum products for cooking was piqued during a recent road trip along the Burnett Highway, an inland rural highway in Queensland, where the broad acre agricultural fields were mostly rust, orange or red coloured sorghum. Sorghum in general has a diversity of uses, from livestock cattle feed to human food, so I was interested to see this sorghum spaghetti in the shop, even though the country of origin isn't Australia, but Bolivia in South America. Never mind, it's still organic and still healthy. We've heard a lot about superfoods and super crops, but not much about sorghum being one of those, but it is. Bolivian white sorghum is grown for flour for the food industry, so presumably it was used for this spaghetti. I read that it is also grown for the brewing of beer. Whereas red and rust coloured sorghum in the photo below is so versatile that it is used primarily for fuel and cattle feed but has many other uses as well. Sorghum is an ancient grain native to Northeastern Africa, and requires little water to grow, so is now being considered environmentally beneficial for the planet. This makes it perfect for agricultural use in rural Queensland, which is notoriously dry, although when we travelled through there had been recent flooding.
 |
| Rust coloured broad acre sorghum fields |

During our road trip along the Burnett Highway, we also saw this creek sign. We had a good laugh when we tried to say the name, and decided this must be the longest creek name we have ever seen. Toondoonnananigy Creek, probably derived from the language of our First Nations People.
LET'S COOK with Sorghum Spaghetti:
Ingredients:
Ready in 30 minutes, serves 3-4 (See notes)
1 packet Organic Sorghum Spaghetti (I used Ceres brand)
1 bunch coriander
1 clove garlic, crushed
2 tablespoons Extra Virgin Olive Oil
Salt and Pepper to taste
1 1/2 cups peas, blanched
1/4 cup Organics Savoury Yeast Flakes
Method:
Cook sorghum spaghetti according to packet instructions, much the same as normal spaghetti but takes a little longer, about 13-15 minutes until al dente.
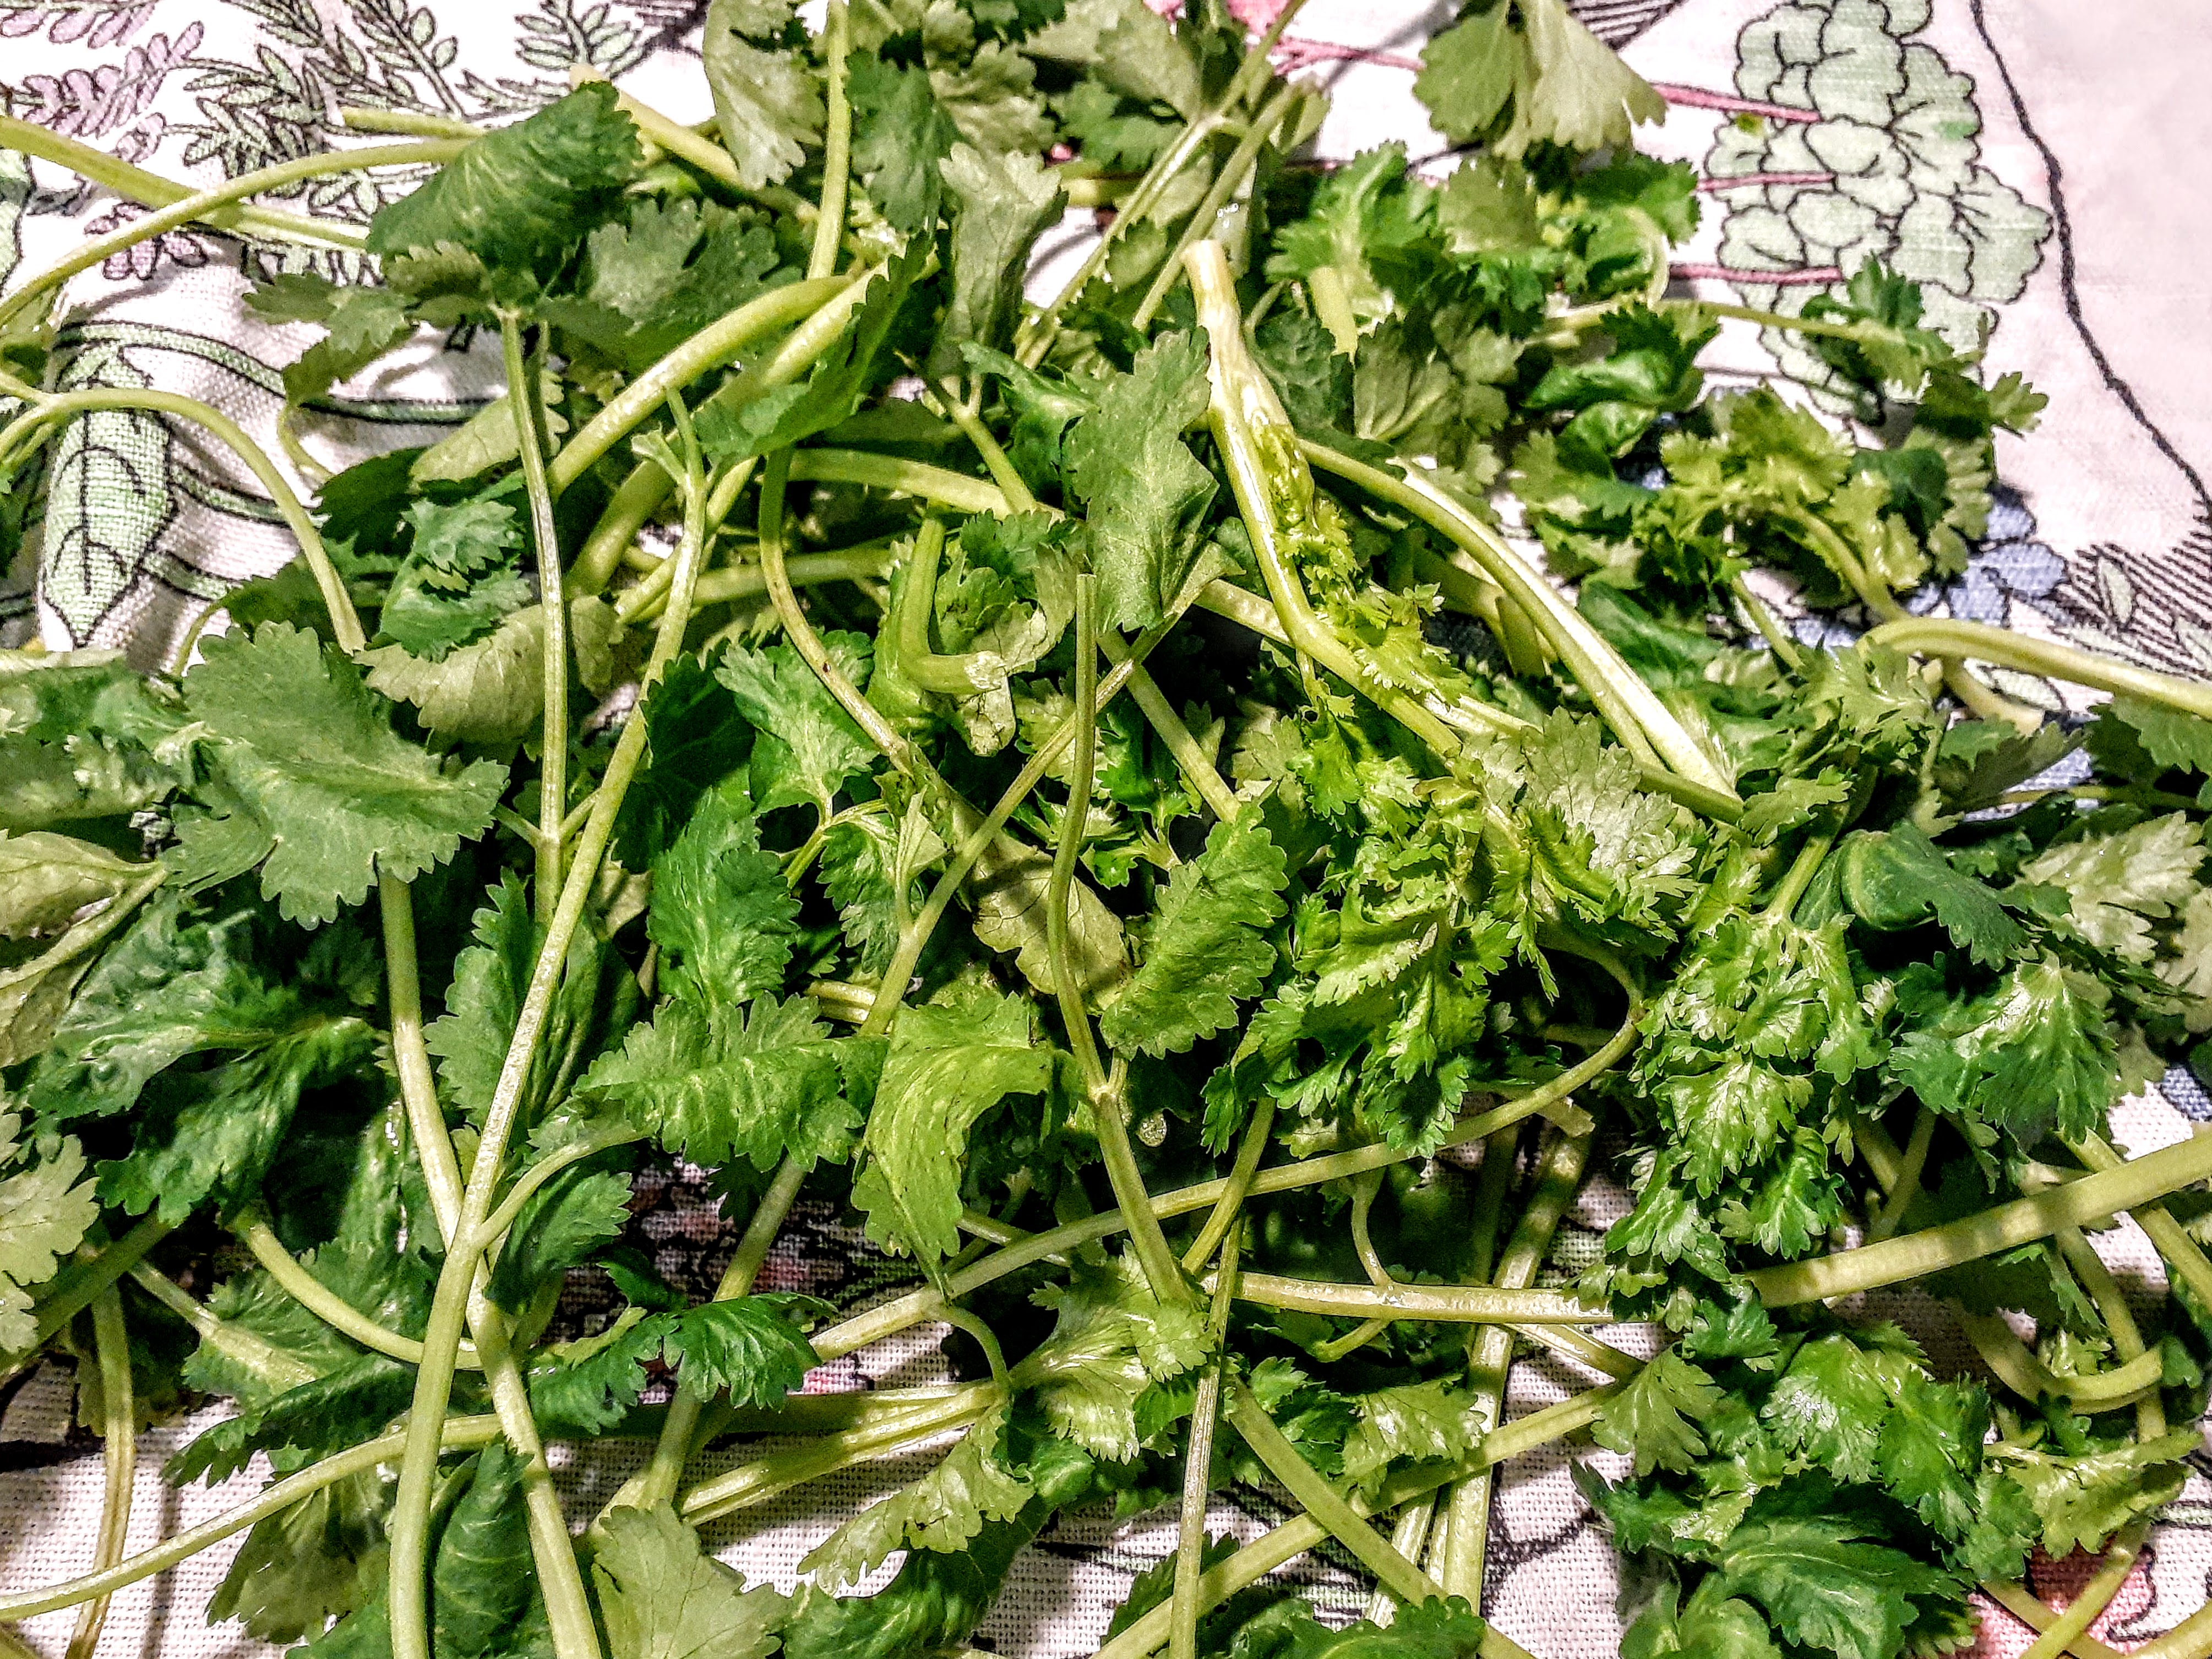
Wash the coriander and dry it in a herbs spinner. Coriander always needs washing and drying before use, this is an important step.
In your food processor bowl, place the coriander, garlic and yeast flakes and give it a good blitz. Then scrape down the sides.
Drizzle the Extra Virgin Olive Oil through the lid chute, and process to a pesto consistency. I used all of the oil. Season with salt and ground black pepper to taste.

Drain the pasta, return to the saucepan, add a little olive oil to loosen the strands, and then stir in the pesto and peas. You have a delicious and attractive meal on the table in 30 minutes.
Cooks notes:
- The recipe stated that this feeds 3-4 people. Mr. HRK and I ate this over two small meals, but it could easily be bumped up to feed 4 comfortably by adding some sun-dried tomatoes, cooked mushrooms, or roasted pumpkin or whatever vegetables you would like. Tasty mature grated cheese would also make it more filling than the Savoury Yeast flakes.
- Whilst it was delicious and we really enjoyed this dish, I would have liked even more flavour in this recipe. But that's me, and I love coriander which can be quite a strongly flavoured herb. Any herb pesto could be used though, and next time I make it I'll double the amount of pesto and keep adding it to the spaghetti until I'm happy with the flavour. Ill freeze the remainder for adding to other dishes.

Is Meat Free or Meatless Monday still a thing? According to various websites I visited it is. I try to stick to it as a matter of routine, and it's an easy way to reset after the weekend when we may have had a wee indulgence or two. It appears that people are also more open to healthy behaviours at the beginning of the week, before the busy week gets on top of them. Just one plant-based day a week is a fun and easy way to do something for the planet and our future.
Warm wishes
Pauline


Tuesday, February 14, 2023
Pear, Walnut and Chocolate Cake

It's St. Valentine's Day today and the Mahjong girls came over to our house this afternoon for the weekly round of games, so chocolate had to be in the ingredients for the cake I chose to bake. I also had some beautiful Corella pears which had been in my refrigerator crisper for over a week, which is normally unheard of, so it had to primarily be a Pear cake.
Saturday, February 11, 2023
Vegetarian Lentil and Mushroom Curry with Baby Spinach or Eggplant (Aubergine)
 |
| Delicious Lentil, Eggplant and Mushroom curry |
We all need a versatile lentil recipe in our repertoire that we can depend on when the going gets tough or just plain busy. I always have jars of green and red lentils on hand, and curry powder, which means this curry can be cooked at a moment's notice, even using frozen vegetables if necessary. We all know the power of pulses to provide essential protein, vitamins, minerals and fibre for our body. Lentils are also inexpensive. This is the perfect Meat Free Monday meal. When we were living in the Lakes District, in Northern England on a teacher exchange for Mr. HRK, 15 years ago, and being paid in Australian dollars and living on one wage, meat was so expensive that I introduced lentil dishes to our diet. That was the turning point for me, and I've cooked with them often ever since, along with other pulses such as chickpeas, dried peas and beans. Now I cook with them just because they are the basis of so many delicious meals like this one, and for the health benefits as well. Meat can easily be added to this recipe if you wish.
 |
| Lentil, Spinach and Mushroom Curry |
Let's Cook:
Preparation time 15 minutes
Cooking time 30 minutes
Serves 4
INGREDIENTS
1/2 cup Whole Green lentils
1/2 cup Red Split Lentils
6 roughly chopped mushrooms
1 tablespoon vegetable oil
1 medium onion, diced
2 garlic cloves, minced.
2cm piece fresh ginger, grated.
2 tablespoon Clive of India Curry Powder (or a good substitute curry powder)
1 teaspoon ground cumin
1/4 tsp cayenne pepper
400 ml tin of coconut milk
1 cup vegetable stock
200g baby spinach or 1 whole medium sized eggplant
1 lemon, juice of
1/2 cup chopped coriander and extra for garnish if desired.
METHOD:
Rinse the Green lentils in a colander under cold water and pick over to remove any discoloured lentils or other matter. Do the same with the red lentils separately. The Green and the Red lentils are added at different stages during the cooking process.
On a low heat, sauté the onion in the oil for 4-5 minutes without browning. Add the garlic and ginger and cook for 1 minute.
Combine the curry powder, cumin, and pepper in a small bowl and stir into the onions to coat them. I have also added a teaspoon of beneficial dried turmeric spice sometimes, which gives it a nice colour and a little more flavour, but not necessary.

Add the uncooked Whole Green Lentils, coconut milk, and stock. Stir and cover. Simmer for 15 minutes and add more liquid if the mixture looks dry. Stir every 5 minutes during this time to ensure the lentil mixture isn't sticking to the base of the pan.
After 15 minutes, add the uncooked Red Lentils, and the mushrooms. This is when you add the slightly cooked eggplant pieces if you are using them.

Cook for a further 10 minutes, stirring and adding more liquid if necessary to prevent the mixture sticking to the pan.
I added almost an extra cup of water.
Fold in the spinach, lemon juice and chopped coriander just before serving.

Heat through and serve with rice or naan bread, or both.

Lentil, Mushroom and Eggplant Curry variation
It is so easy to substitute eggplant for the baby spinach in this curry. I used one medium sized eggplant, chopped it up small chunks, and baked the pieces on a tray in the oven until slightly coloured at 180 deg. C, and almost cooked. Bake the eggplant chunks whilst you are simmering the green lentils. Or precook them and keep them covered in the refrigerator until you need them. They will finish cooking in the curry. I prefer this to cooking them in oil first before adding to a curry. However, I did lightly spray the eggplant pieces with spray on olive oil before baking so that they didn't dry out too much.
Add the eggplant chunks to the lentil dish when you add the red lentils and mushrooms according to the recipe above. The eggplant will then absorb all of the delicious curry flavours.
Cook for a further 10 minutes, stirring and adding more liquid if necessary. I added almost an extra cup of water. Fold in the lemon juice and chopped coriander just before serving.
Once you have made your curry so many other foods can be eaten with it. It is perfect just a for a meal on its own with rice and naan bread, or you can add some cooked chicken for the meat lovers, some extra vegetables, or even a poached egg on top.
Leftover curry will improve in flavour in the refrigerator to be eaten the next day. However, the spinach will just about disappear, so you could add some more next time when you reheat your curry.
Regular readers will know that I was called up for jury duty last fortnight, but I had reprieve when no jurors were required for that period. Phew! I felt as if I was the one being let out of jail! However, it freed me up last week to look after Tess, a dear old friend of mine who needed a carer after having an Angiogram in hospital. She's 84 years old, very slight, and the procedure took a lot out of her. I drove her to the hospital at 7 am in the morning, she was there until 3.30 pm, and then I brought her home to our place for a "sleepover", and breakfast. I drove her home, later in the morning. The Public Hospital staff looked after her very well, but both her wrists and arms were very bruised, and she was really worn out. Thankfully the hospital insists on the patients needing a carer after a procedure like this one. So, I cooked a large piece of Corned Silverside in the slow cooker, which I know she enjoys, and we ate that for an early tea with some mashed potato, mashed pumpkin, steamed beans and broccoli. Broccoli is her favourite vegetable, noted Tess. She just loved it, and because she couldn't apply any pressure to her wrists, I cut everything up into small pieces for her. Corned Silverside is always delicious, and then we have sliced cold meat for a few days. Plain food is the best when recovering after a medical procedure isn't it? Tess doesn't eat very much though at the best of times. I gave her a container to take home with enough silverside and vegetables to last for a couple of days. She was thrilled to bits with that.
The next day, Tess had recovered fairly well, and I've spoken to her each day since, but she is still tired and other friends are taking her out for small outings. I'll see her this weekend. She needs to have some non-invasive heart surgery in about 6 months' time, in Townsville, about 350 kms away, and will need to fly up there for that. This was a real wake up call for me about elderly people who have no family to help out when they need to be cared for. Even those with families will need lots of support at some time. She still lives in her own home, which she is very thankful for, but she does need a lot of support from her neighbours and friends.
Take care,
Warmest wishes and I hope you enjoy this recipe.
Pauline x
Sunday, February 5, 2023
In My Kitchen - February 2023
Before Christmas I was selected as a prospective juror for two weeks from the 30th January, 2023, so whilst trying to do my civic duty, I said I would be available if my name was chosen in the second selection, and of course it was. This meant I needed to cancel any commitments for these two weeks, so that I would be available. However, late each afternoon last week I was messaged by the Supreme and District Court to the effect that I wouldn't be required the following day, so it's been a week of just planning things day by day. Next week could be exactly the same, with no assurance that I will be required but if I am I will have to be available or risk being heavily fined. It seems a strange system, but I can't think of a better one, so next week I will be living day by day as well. That means plenty of time in the kitchen, reading a good book, playing the piano, impromptu catch ups, etc., sounds good. One week to go without being able to make any definite daily plans in advance. I have already sat on a jury panel once, have you? Thankfully mine wasn't a disturbing case, and I found the experience quite interesting.
 |
| Photo taken before the spinach started to wilt a little. |
I've made two vegetarian Lentil curries, a week apart, because the first one was so delicious. It was a Lentil, Mushroom and Spinach Curry, and I made this one when all of the flooding was occurring In Southern Queensland and New South Wales and there wasn't very much fresh fruit and vegetables available at the supermarkets or the farmer's markets because of the heat and then the rain. I bought a packet of spinach leaves and some mushrooms, which were close to the expiry date and made this curry. I always have jars of green and red lentils in the pantry, so they were the basis of an earthy and delicious lentil curry.
Then a week later, I changed the vegetables slightly and made an eggplant and mushroom lentil curry, which we enjoyed even more, perfect for the wet weather at the time. Even though this is such a simple recipe, I'll post it on the blog soon, as I know you will enjoy it too. A simple vegetarian meal with leftovers during a busy week, is just what is needed sometimes. However leftover chicken could easily be added to it.
I had some leftover mashed pumpkin in the refrigerator so I made a batch of golden Pumpkin Scones from a Kent (Jap) pumpkin, just last week. Cooked mashed pumpkin keeps well in the frig. I made these ones slightly larger than normal, and the recipe made 8 instead of 10. I think a pumpkin scone needs to be on the larger side as they are so delicious with a cuppa. They also reheat beautifully in the microwave oven. I haven't made pumpkin scones for a while, and it pays to keep in practice don't you think?


 |
| Beautiful sourdough bubbles |
I mixed up the sourdough for the bread, and then left it to rise slowly in two large bowls overnight at room temperature. I have just baked two loaves, a large hi-top loaf and a smaller loaf. The air conditioning is on during our heat wave, so it's perfect conditions inside for this dedicated baker. These loaves don't have the large holes like the round artisan loaves, as I used a lower hydration recipe, which works well for a standard loaf of sandwich bread. I didn't add any glaze or flour dusting to the surface of this loaf, so it is quite rustic in appearance, but tastes great after it has cooled slightly and is fresh out of the oven. I have made round artisan style loaves before, using the high-hydration method, which are great to have if visitors are coming over.

 |
| The smaller loaf today from the second dough mix. Different lighting also? |
January included the Lunar New Year celebrations, celebrating the Year of the Rabbit, and whilst we don't get involved in any actual celebrations where we live, I was obviously influenced by all of the fun and publicity at the time. I made a Chinese Omelette for dinner one evening, named Egg Foo Young. I deconstructed it and made a very tasty pork filling to sit inside the omelette. It was a lot of fun to make with all those bean sprouts, and delicious to eat. Egg Foo Young was created by economical Chinese kitchen cooks to use up meat and vegetable leftovers, as was Fried Rice. It's very versatile as well.


I purchased a new Australian cookbook, simply called Dinner. I've been wanting Nagi Maehashi's cookbook for ages as I often try her recipes and she has built up a very reliable reputation with her everyday recipes here in Australia, and overseas too I believe.

I agree wholeheartedly with her five non-negotiable rules in the kitchen, and would like to add one more to the list please Nagi. If cooking with wine, keep a glass for yourself to drink, tee hee.

I made a simple Chicken stir-fry using Nagi's special stir fry sauce, and also tried her Tip on tenderising the chicken, Chinese style. It was delicious. It was extremely hot outside last night, even at 7 pm, still around 30 deg. C, so I cooked the meal inside in a frypan, rather than in a wok which we usually do on our outside gas burner. It was still delicious. This photo is before I added Nagi's magic sauce. Even though stir fries are considered fairly common place these days, I'll post the recipe later so that I can find it easily when I am travelling, and also for your interest if you don't have her book. My stir fries often involve chopping up whatever vegies I have on hand, adding some sliced chicken or beef, some herbs, and then adding some soy sauce and a little oyster sauce as well. Quick and easy. I took this stir fry to the next level by actually following a recipe.
 |
| Chicken, snow pea, capsicum and carrot, and a special stir fry sauce about to be added. |
That's all folks for now. Thanks for dropping by. I'd love to hear from you, so if you do read my latest IMK or any of my posts, you can leave an anonymous comment at the end in the Comments section if you wish. Anonymity is guaranteed. And if I happen to know you personally, just type your first name at the end of your comment and say hi, and that would be great.
Cheerio from very tropical North Queensland,
Pauline x
Subscribe to:
Posts (Atom)