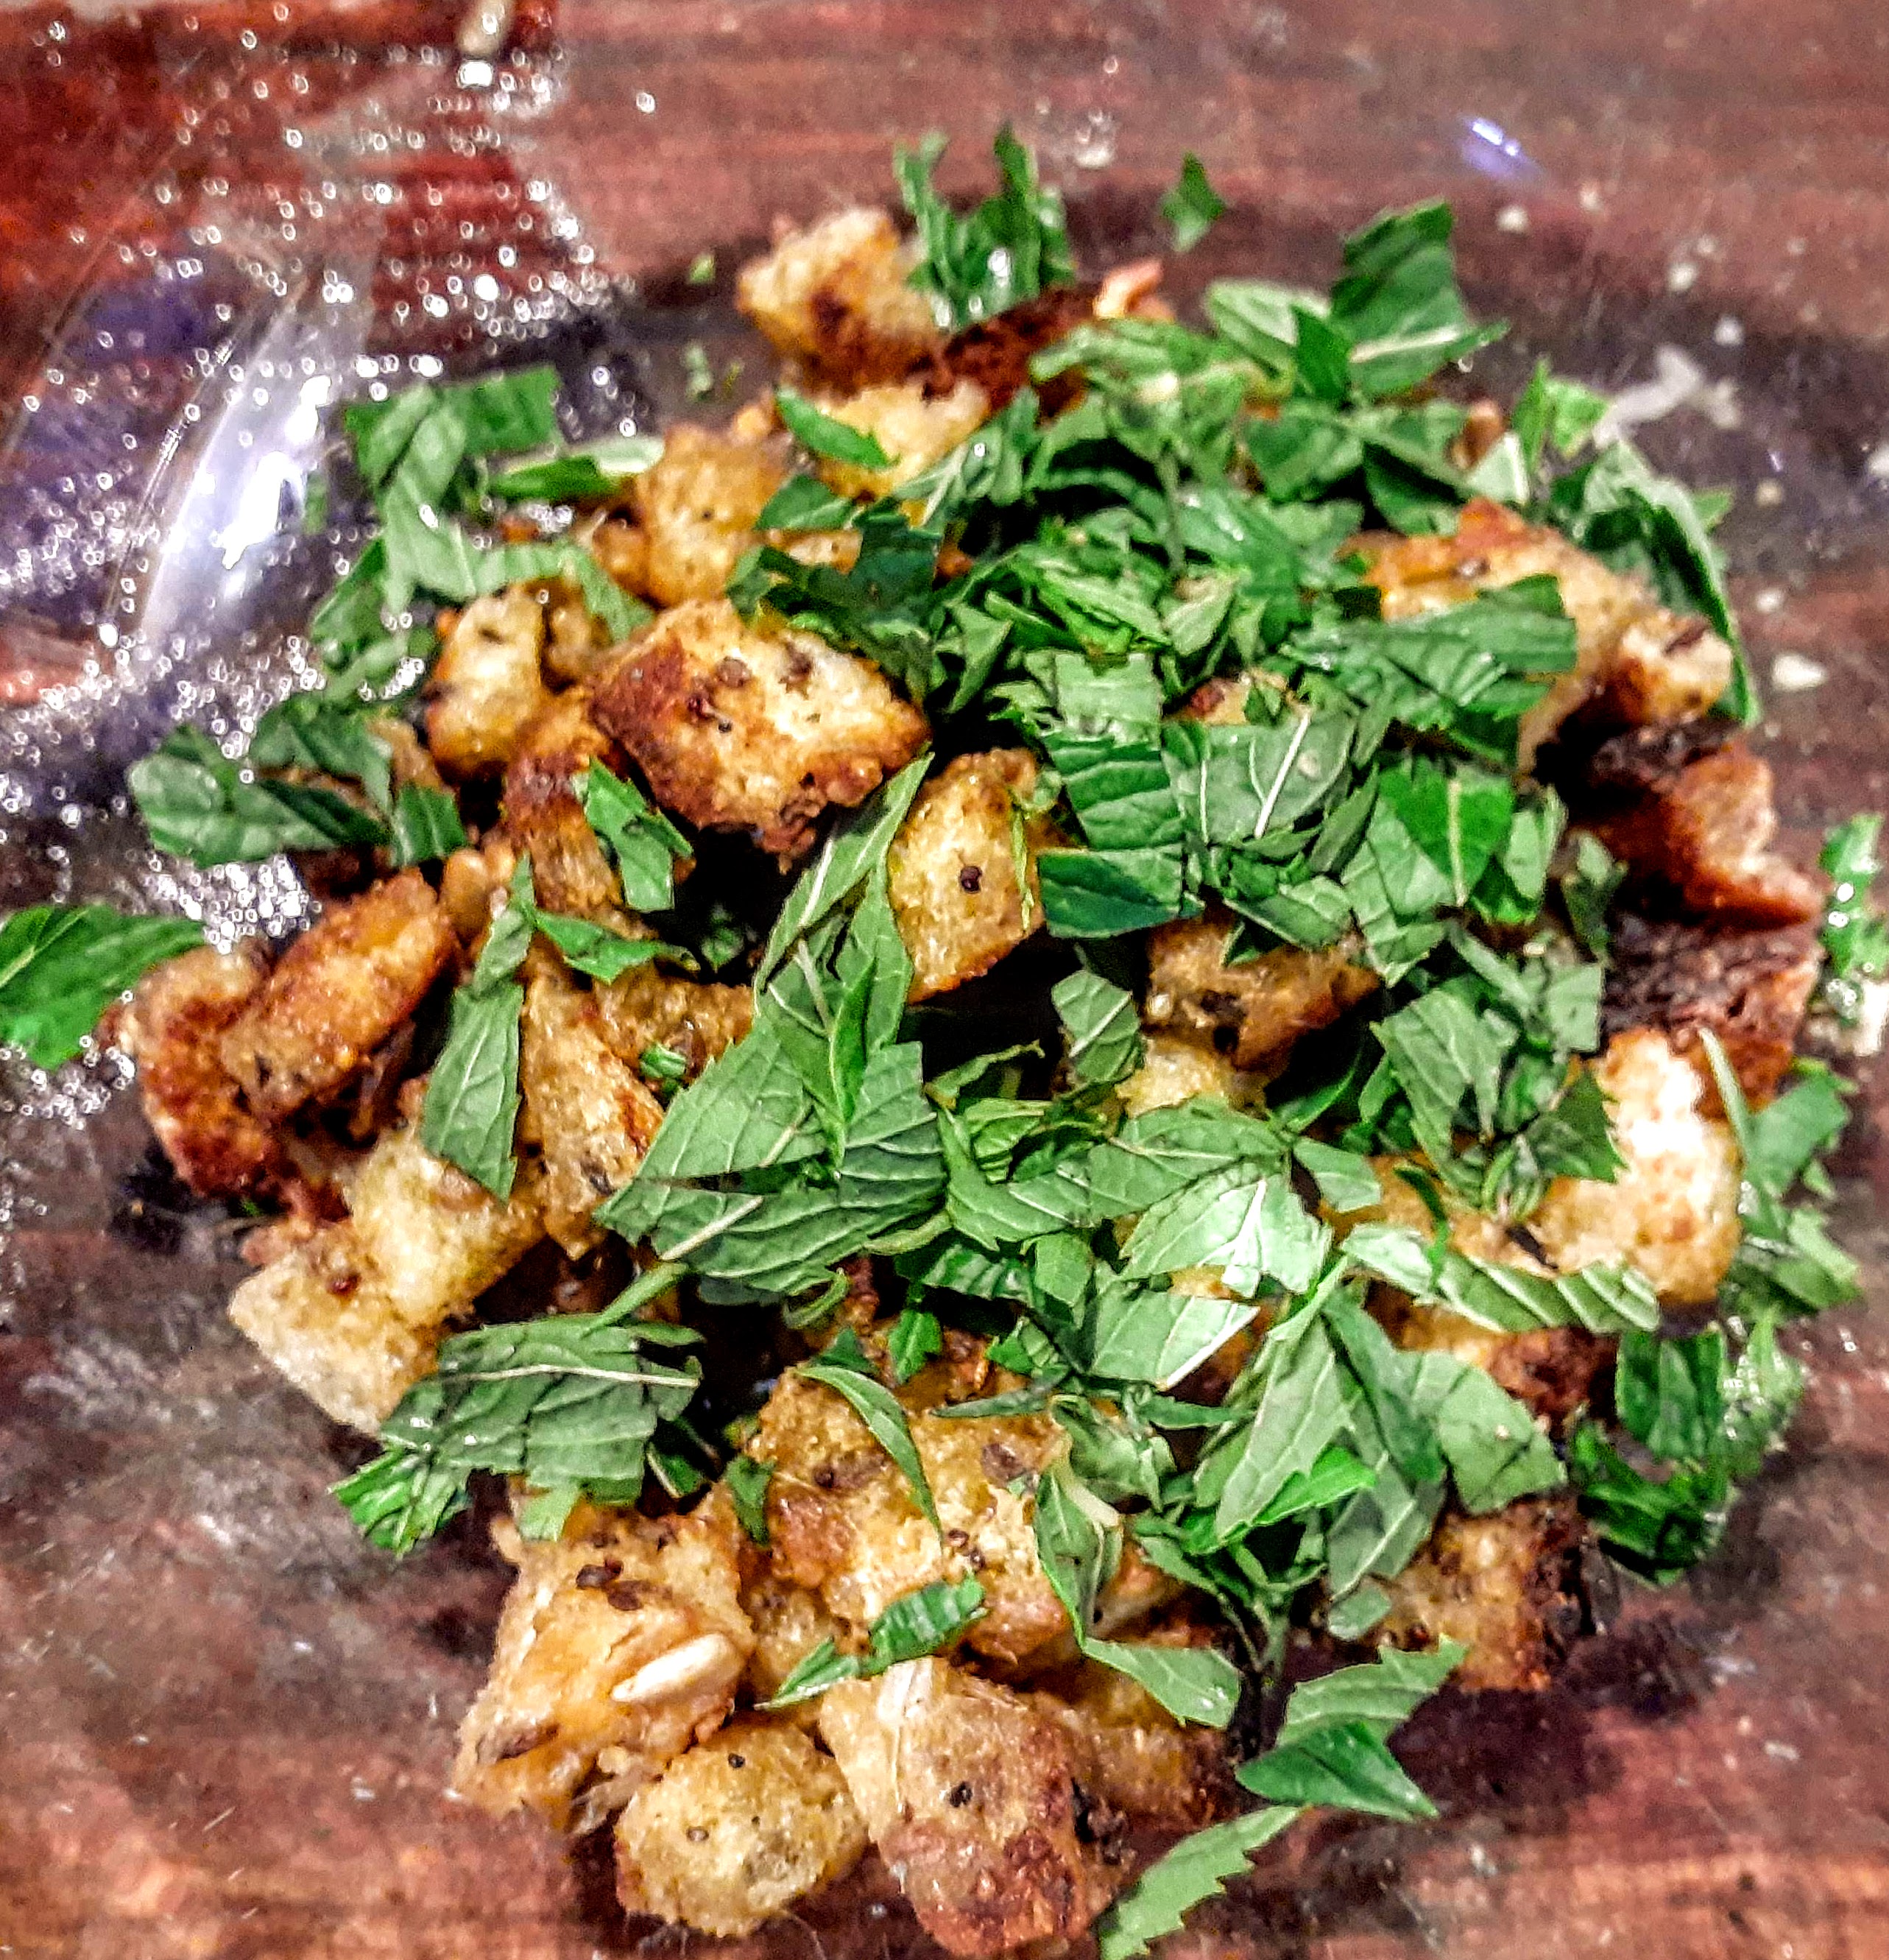
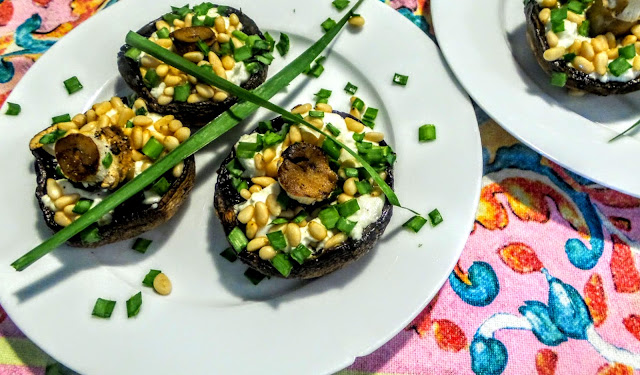
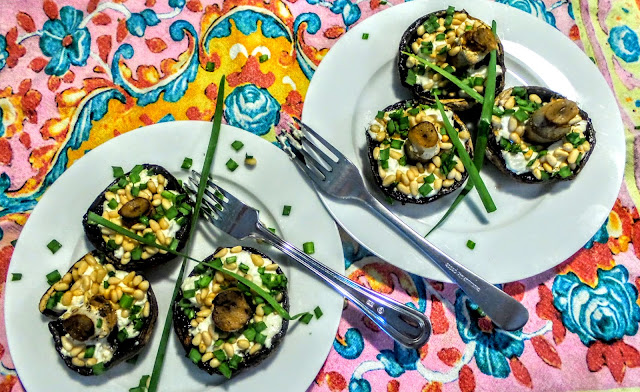
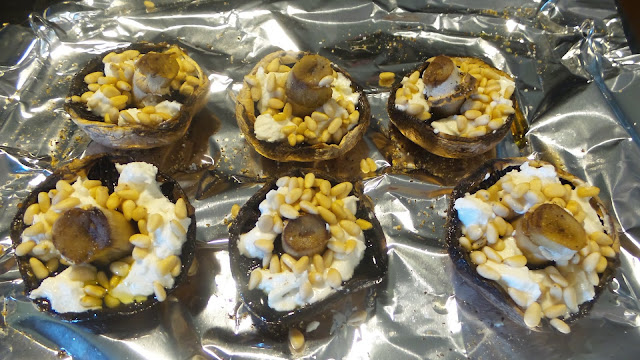
Let's start our day in the kitchen with a delicious breakfast. Large Portobello mushrooms can be prepared like toast, and that is just what I did with these. Only not toasted, but grilled. This is such an easy way to cook big, flat, fresh mushrooms. Mushrooms, goat's cheese, pine nuts, and freshly snipped chives from the garden, what's not to love about this vegetarian dish for a weekend brekkie? Add a little finely chopped garlic straight onto the mushrooms if you wish. This is also a perfect meal for a Meat Free Monday dinner served with a delicious salad. They also make a surprisingly "meaty" accompaniment to anything from a baked potato gratin to a grain salad.
Portobello Mushroom Toast with Goat's Cheese, Pine Nuts and Chives, a perfect breakfast treat

I try to cook mainly with vegetables that are in season, and cooking with mushrooms is an easy decision as they are available all year round now in our shops in the Southern Hemisphere. I hope it's the same for those of you in the Northern Hemisphere. I'll only buy them though, if they are available unpackaged, as I don't see why they often need to be so heavily packaged in plastic. Storing them in the refrigerator crisper in a brown paper bag is the most sensible storage option.
Portobello Mushroom Toast with Goat's Cheese, Pine Nuts and Chives
Ingredients:
Serves 2
4 Portobello mushrooms
Slurp of olive oil on each one
60 g soft goats cheese (Meredith Dairy soft goats cheese works well), or choose hard cheese
2 tablespoons pine nuts
2 handfuls of fresh chives, snipped
Method:
Turn the oven grill to high.
Place the mushrooms open side up on the baking tray, drizzle with the oil and season with a pinch of salt and plenty of black pepper.
Place under the grill for 3 minutes.
Remove the mushrooms from the grill, dot on the Goat's cheese and sprinkle with the pine nuts.
Place the mushrooms back under the grill for a further 2 minutes until Goats cheese is further softened and pine nuts are toasted. The pine nuts need to be watched as they will burn if left under the grill for too long.
Sprinkle on the snipped chives to serve.
Served with homemade spicy tomato relish, or any savoury relish, in my opinion these rival any meal served in a cafe for brekkie. Add delicious bread on the side if you wish.
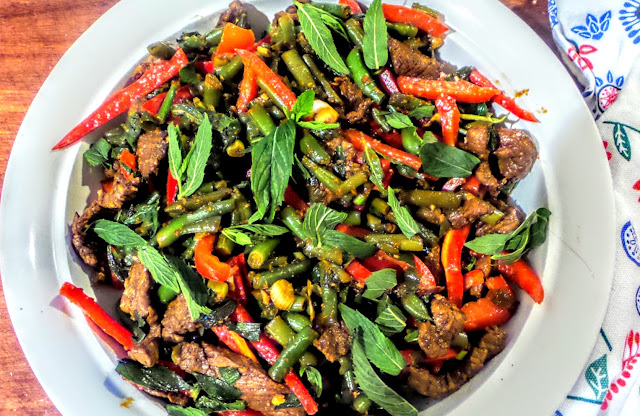
Beef stir-fry anyone?
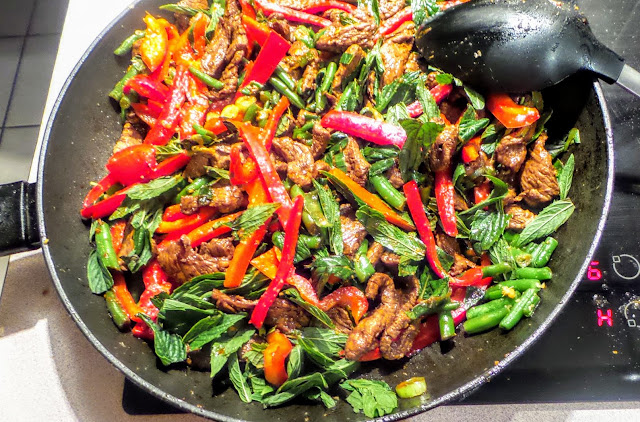
Given the unbelievably high price of beef at the moment, and showing respect for the mission by many that we reduce our meat intake for the sake of our own health and for the health of the planet, I now think really seriously about how I'll prepare the meat that I buy. This beef stir-fry with a citrus kick was worth the little extra effort required to take it from the level of a quick "throw all in the wok" stir fry, to one with marinated very tender beef, and delicious flavours with a kick of lime. You can find the full post on the recipe at this link. I'll definitely be making this one again.
Beef Stir-fry with a Citrus Kick
Recipe serves 4
Ingredients:
Preparation 15 minutes + 15 minutes marinating time. Cooking time: only 10 minutes because it's a quick stir fry.
400g - 500g rump steak, Scotch fillet, or even Sirloin steak, thinly sliced across the grain into 6 mm thick strips (marinating the meat will give very tender results). I used Rump steak.
2 tbs fish sauce
2 tbs soy sauce
2 tbs vegetable oil divided
1/4 tsp cornflour
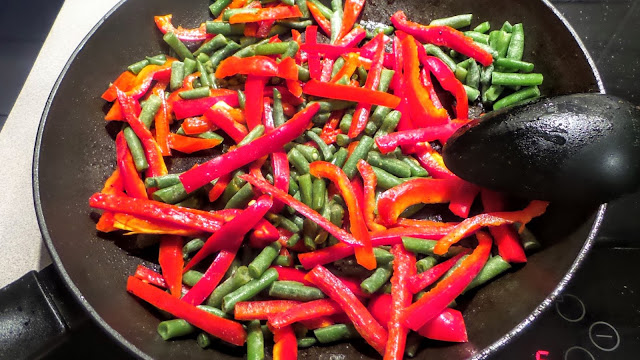
1 red capsicum, seeded and thinly sliced
200g green beans, trimmed and halved diagonally
1/2 cup (70 g) thinly sliced shallots
1 tbs finely chopped garlic
1 tbs finely chopped ginger
1 cup coriander leaves, divided
1 cup mint leaves
1 lime juiced, divided
1 tbs sugar
Steamed rice to serve
Method:
- Prepare the fish sauce, soy sauce and sugar in a small bowl by whisking it until the sugar dissolves. Place the sliced beef in another medium sized bowl, add 1 tablespoon of the soy sauce mixture and mix the sauce into the meat. Set the bowl of meat aside for 15 minutes to absorb the flavours. I marinated mine for 2 hours, covered the bowl and stored it in the refrigerator, until ready to use, as I had the time to do that.
- Whisk the cornflour into the remaining soy sauce mixture and cover.
- Remove the beef from the bowl and pat it dry with a paper towel. Add 1 tablespoon of the vegetable oil to a large hot frying pan, and add the beef, spreading it over the base of the pan in a single layer. Without stirring the beef or touching it, cook for 2 minutes until well browned. You can see why the pan needed to be hot to begin with.
- Stir fry the beef, and continue to stir and fry it for 40 seconds until cooked through.
- Transfer the beef now to a plate with a rim to catch the juices.
- You are now ready to cook the vegetables.
- Add the remaining oil, (1 tablespoon), and the capsicum and beans and cook for 2 minutes until the vegetables soften slightly. Stir and fry the vegetables. You want them still quite crisp. Stir in the shallot, garlic and ginger,
- Add the remaining soy sauce mixture, and the beef and the juices to the pan with the vegetables. Stir and fry for 1 minute until the beef is just heated through, the vegetables are tender, and the sauce has thickened slightly.
- Take your frypan from the stove and stir in half the coriander leaves, the mint leaves, and the lime juice. I can't emphasize enough how important it is to add the lime juice and at least one of the herbs.
- To serve divide the rice among the serving bowls. Top the rice with the beef stir fry, and drizzle with the remaining lime juice and for presentation, sprinkle with the remaining mint and coriander leaves.
- Serve with extra lime wedges if you have them
Regardless of what else is happening, I always find time to read. During a very busy time while we were away in Cairns, this book by Australian author and doctor Joanna Nell, was an interesting and relaxing read. She navigated some of the politics in hospitals and how a dedicated group of volunteers found a way to deal with the bureaucracy. I enjoyed it.

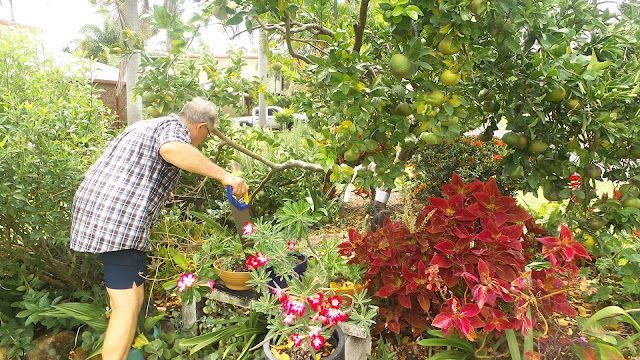
There's a strong synergy between a lot of what we grow in our garden, and what I cook with in my kitchen. We try to grow as much as we can given space constraints, and the time of the year. Let's face it though, growing our own produce presents challenges, and there's a lot of trial and error with growing fruit and vegetables for our own use. However, growing what is suitable in our tropical climate is the key for us, that's not rocket science I know, even though at times we've tried growing a pomegranate tree, a finger lime tree (that should have grown well), vanilla bean vines, and other more exotic plants, but the pests and bugs can make life very difficult and know how to completely ruin our efforts. So here are a few photos of what we are having success with at the moment. These were taken before storms and showers over the last few days, and as I write this, Mr. HRK is out in the garden pruning and tidying up, and just enjoying the garden under slightly cooler conditions.
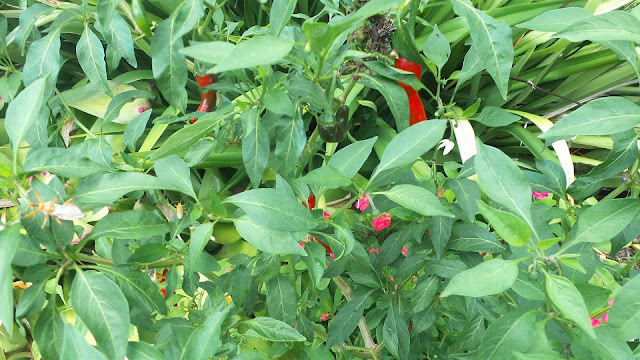
There's always a chilli bush or two growing in the garden, and it's great to be able just to pick them as needed for so many dishes I cook. If I had been in my own kitchen at home, I would have used one of these in the Beef stir-fry recipe above.
The odd bunch of chillies just picked. They still taste great though.
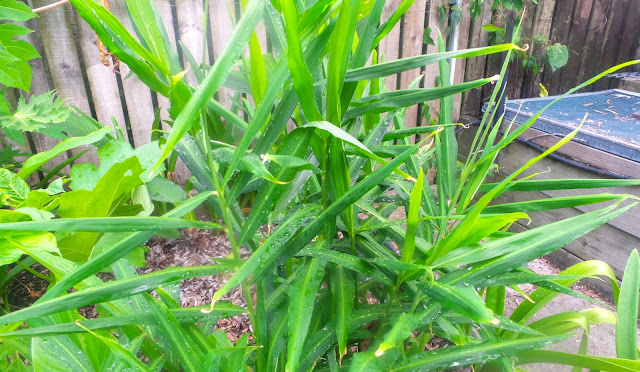
Edible ginger and turmeric thrive in the Summer garden in the tropics.
 |
| The lush turmeric is flowering, and the pineapple sage in front with the pink flowers |
is such a survivor.
Our edible ginger is looking very healthy after the rain and will be ready for harvesting quite soon, however in the meantime it's great to be able to dig some up when required.
This Paw Paw tree below self seeded, so time will tell if it is bi-sexual, and actually bears fruit, or if it develops a disease such as bunchy top.I have high hopes for this one. Fingers crossed.
We have a cumquat tree, which is just beginning to flower. Can you see the small white buds on these two photos. I'm hoping that by the end of Winter there will be enough fruit to make some more
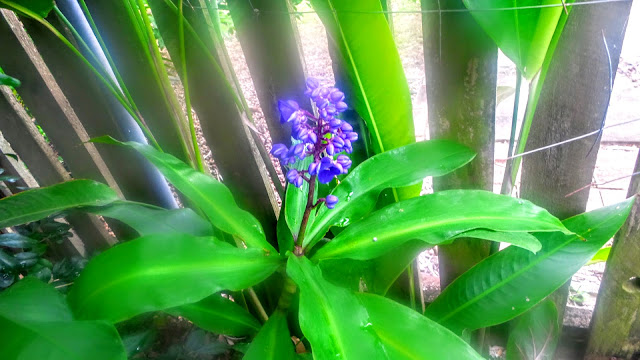
These are photos of some not so edible gingers growing in the garden, They bring beautiful colour, joy and biodiversity to our garden which is important.
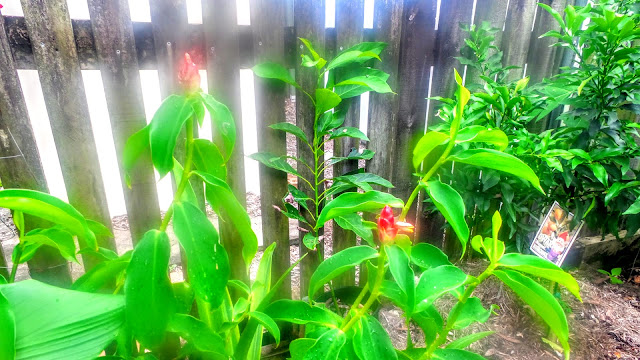 |
| This newly planted red ginger is growing in its own garden next to the cumquat tree. |
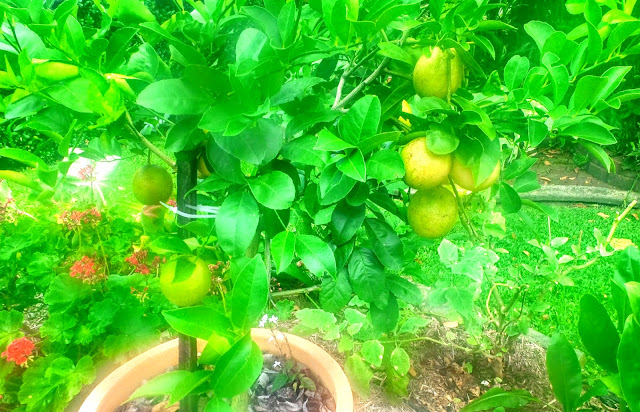
This very happy lemon tree was the subject of a recent post of mine. I used the first lemons to make some very nice little lemon puddings.
 |
| Lemon puddings with a topping of homemade lemon curd. Yum! |
Our wonderful friends P & J, brought us back this bag of roasted coffee beans grown near Byron Bay. We are so excited about trying this coffee. They were in Ballina in New South Wales, and thankfully weren't trapped by the floods for too long as so many were.
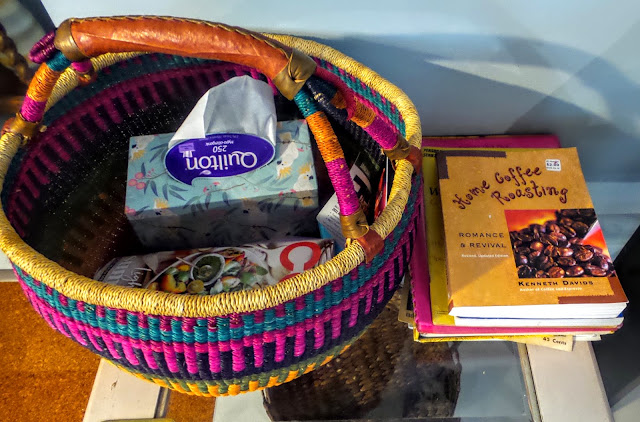
A new Market basket that I bought will be very useful, when I head off to market.
I made my first sourdough loaf of bread for quite a while. Now that the weathers a bit cooler I'll get back into more baking. Bread is such a staple, and sourdough bread is good for our wellbeing. I wish I could send some bread to the people left in the Ukraine, I doubt they are in a position to be making bread. It's all so sad.
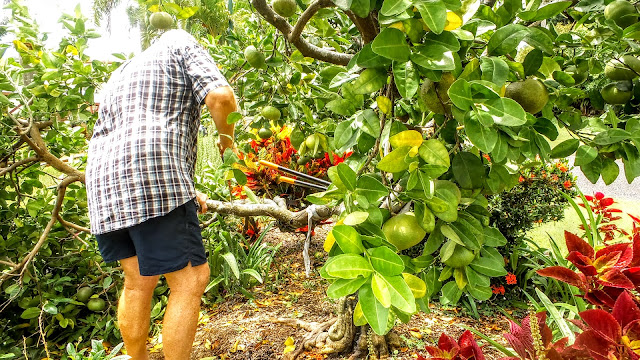
Hot off the press, we just discovered that our 15 year old Mandarin tree, was damaged during last night's storm. A large branch which is about 1/3 of the tree broke off. The tree is heavily laden with fruit, so we estimate about 100 mandarins were on that branch, and it was probably just the wind and the heaviness of the branch that caused it to break. So Mr. HRK has been busily sawing off the remaining branch. I am hoping I can salvage some of the green fruit to make jam or something else. Do you have any ideas? There is a hint of yellow on some of the fruit so they are beginning to ripen. If a cold snap comes during Winter, the remaining mandarins on the tree should be nice and sweet.
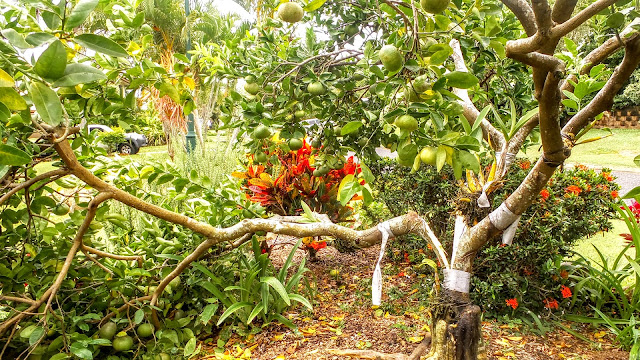 |
| The broken branch to the left |
I am sending this post to Sherry of
Sherry's Pickings for the
In My Kitchen event. If you would like to join in, send your post to Sherry by 13th of the month. Or just head over to her blog to visit more kitchens.
Watch this space for an update on our backyard Italian beehive, in a future post. There's been a lot of activity in the bee world in our back garden.
That's all for this edition my friends, there is work to do in the garden.
Have a nice weekend.
Warm wishes,
Pauline
.jpg)