Showing posts with label Gardening in the tropics. Show all posts

Monday, May 23, 2022

We Are Harvesting and Preserving our Fresh Ginger, now is the right time to do it


Growing edible root ginger in the Tropics and sub-Tropics in the home garden is very easy, low maintenance and sustainable, the climate and the tropical environment is perfect for this crop. As long as the soil is fairly well drained, the crop thrives on heat and humidity, and tells us it needs to be harvested when it's flowers start to emerge from the ground on stalks and the leaves start to brown off. Sorry no photo of this.  So for us, now is the time to harvest our crop. Fresh ginger is very expensive to buy, and can be used in so many dishes both savoury and sweet, in drinks, in smoothies, teas, really the list is endless. We love the flavour. It is also known for it's anti-inflammatory and anti-antioxidant properties, with gingerol thought to be its main bioactive compound. So lets get hot, spicy and sweet and start using ginger as often as we can.

Ginger is a root herb, and when it's dug up out of the ground the green foliage needs to be removed and placed in the compost bin, the soil needs to be washed off the roots, and the ginger cleaned very well ready for preserving how you wish, such as dehydrating, freezing or just cutting up fresh for use. 

Over a cup of coffee one morning, Mr. HRK came up with the innovative idea of using our gurney to wash the ginger. What a great idea I agreed. So he placed our compost sifting rack over the compost heap box, spread the ginger over the rack and began gurneying. Ah, men and their gurneys, and women love them too here in the tropics. They are an essential piece of equipment to keep in the shed for reducing mould on driveways, garages, and all sorts of other essential things. Just can't do without them.

Cleaning the ginger with the gurney


We were unprepared for what a great job the gurney did. Not only did the jet spray of water remove all the dirt, but also removed the outer shell leaving the fresh ginger ready for use. When we broke up some of the larger ginger clumps later, there was still a little dirt left in the crevices, but that was easily washed out in the laundry sink. I think we're onto something here he said. Yes, our annual ginger harvest has just become mechanised.

Mr. HRK sorting the ginger on the frame

We harvested 2.6 kilos of ginger this time, which is a good amount for us to handle. We froze 500g in vacuum sealed pouches, and dehydrated the rest. 2.1 kilos of ginger dehydrated and ground to a powder, transformed into 319 g of dried ginger. Now, with supermarkets here selling ginger at $50.00 a kilo, no-one is going to buy ginger from the supermarket to make their own dried ginger spice. However, fresh ginger is selling at our local markets for $20.00 a kilo which sounds much more realistic. Given that the ginger we are seeing but not buying in our supermarkets is probably grown around Brisbane, being a Queensland crop, I wonder how the markup in price can be justified, when it can be sold locally for $15-$20.00 a kilo.The reality is though that a very small quantity is generally needed for cooking, so  customers will buy a small knob of ginger and pay the price. I always leave a small amount of fresh ginger in the garden for our use, but the frozen ginger works in a lot of dishes.

After washing and cleaning the ginger, it needs to be sliced finely for the dehydrator.

Ready for slicing and dicing

Mr. HRK sliced the large knobs very carefully using the mandolin, better him than me for that job, and I sliced up the small bits with a knife.


I washed some of the slices a little more in the colander to remove the last specks of dirt, dried them off with a clean tea towel, and then they were ready for the dehydrator.


Two large bowls of sliced ginger ready to be dehydrated


Washing off the last specks of dirt

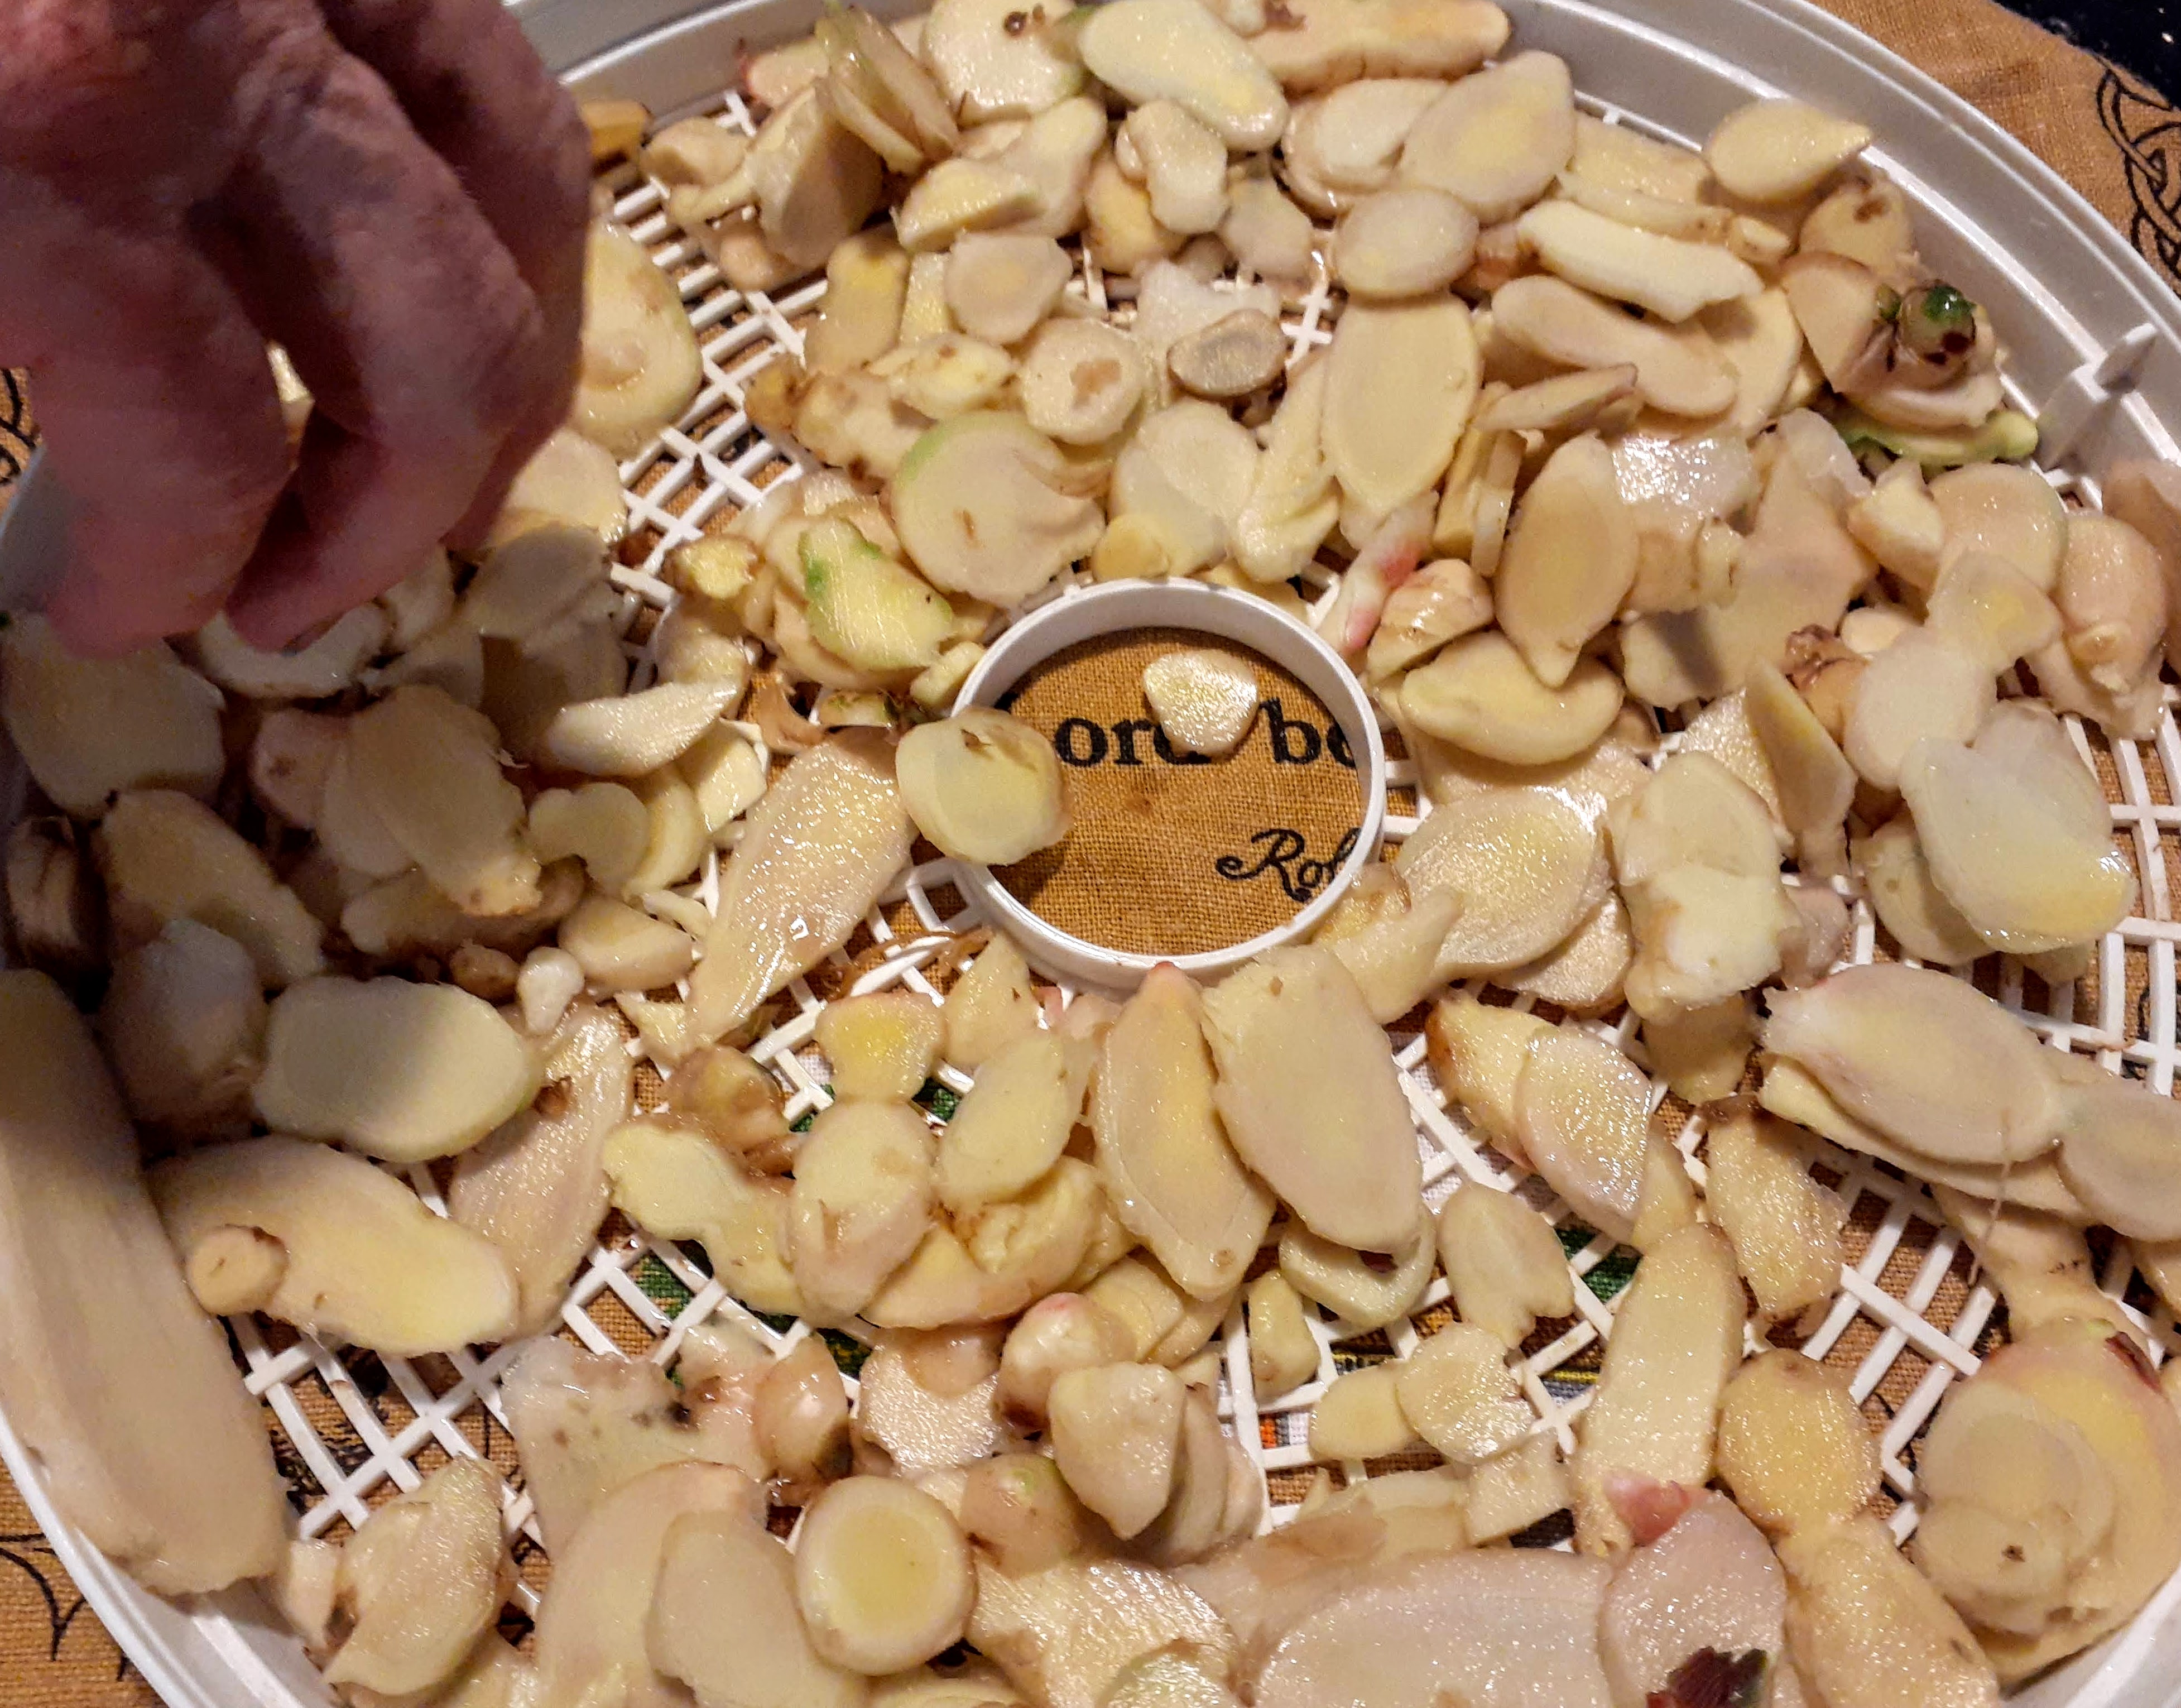
We arranged thin layers of sliced ginger on each tray of the dehydrator.


Dehydrated ginger

The spice grinder is perfect for finely grinding the ginger into a powder


Oh my, the heady aroma coming from the ginger being ground up is quite intoxicating. I feel healthier by the minute.


Some of the ginger was vacuum sealed and frozen.


And now we have our annual supply of dried and frozen ginger. The dried ginger we have  made ourselves is so much more potent, aromatic and full of flavour than the ginger spice produced commercially.
 

It's quite traditional to now place a few pieces of ginger on a sunny windowsill until it starts to sprout some green shoots, which generally starts around spring time or even Summer and those pieces are then planted in the ginger garden, and become the new ginger crop for next year. However around that time, I find that even sticking a few pieces of ginger in the ground in early Summer will shoot and become healthy plants, without needing to have them shooting first.

Now for some cooking and baking, Ginger nuts, Ginger cake, Stem Ginger in Syrup, Ginger Pork, what else? I'd love to hear what your favourite recipe using ginger is.

Turmeric is also growing in tropical gardens,  and  right now is also the time to harvest and dehydrate or preserve your turmeric. Here is the link to a previous post I wrote about harvesting your turmeric.


Warm wishes
Pauline


Saturday, March 12, 2022

In My Kitchen, March 2022

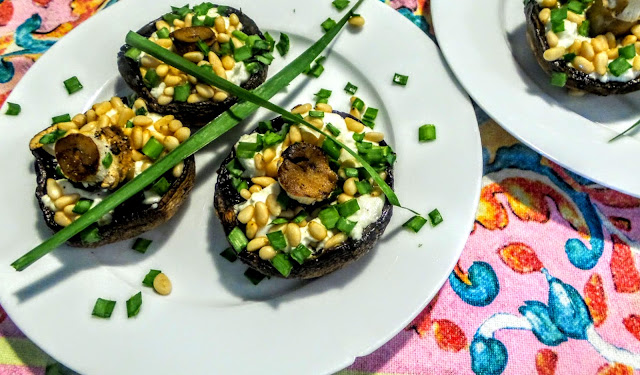
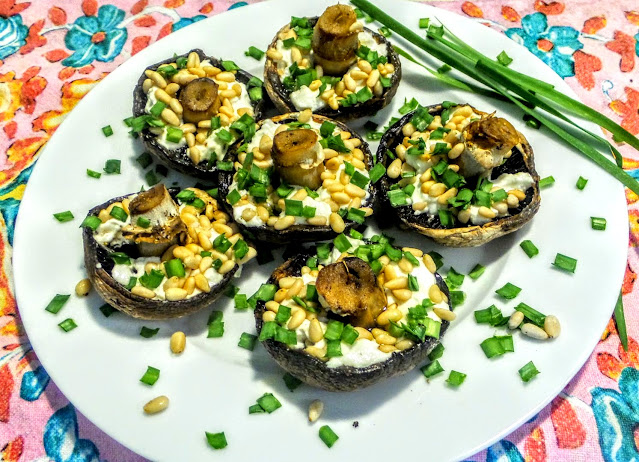
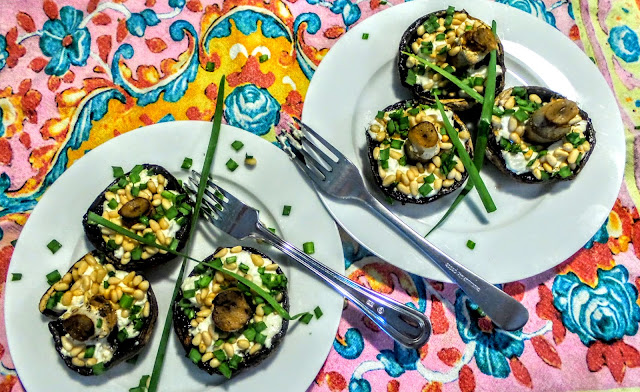
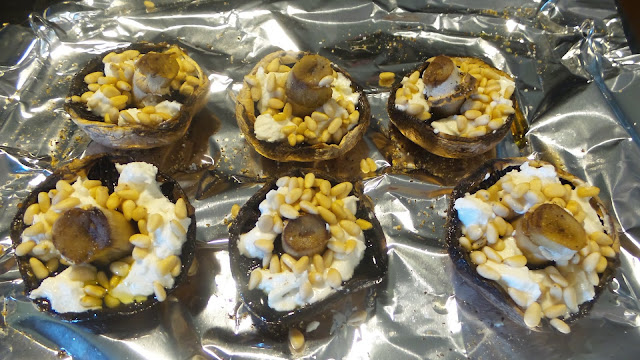
Let's start our day in the kitchen with a delicious breakfast. Large Portobello mushrooms can be prepared like toast, and that is just what I did with these. Only not toasted, but grilled. This is such an easy way to cook big, flat, fresh mushrooms. Mushrooms, goat's cheese, pine nuts, and freshly snipped chives from the garden, what's not to love about this vegetarian dish for a weekend brekkie? Add a little finely chopped garlic straight onto the mushrooms if you wish. This is also a perfect meal  for a Meat Free Monday dinner served with a delicious salad. They also make a surprisingly "meaty" accompaniment to anything from a baked potato gratin to a grain salad. 

Portobello Mushroom Toast with Goat's Cheese, Pine Nuts and Chives, a perfect breakfast treat

I try to cook mainly with vegetables that are in season, and cooking with mushrooms is an easy decision as they are available all year round now in our shops in the Southern Hemisphere. I hope it's the same for those of you in the Northern Hemisphere. I'll only buy them though, if they are available unpackaged, as I don't see why they often need to be so heavily packaged in plastic. Storing them in the refrigerator crisper in a brown paper bag is the most sensible storage option.

Portobello Mushroom Toast with Goat's Cheese, Pine Nuts and Chives

Ingredients:

Serves 2

4 Portobello mushrooms 
Slurp of olive oil on each one
60 g soft goats cheese (Meredith Dairy soft goats cheese works well), or choose hard cheese
2 tablespoons pine nuts
2 handfuls of fresh chives, snipped


Method:

Turn the oven grill to high.

Place the mushrooms open side up on the baking tray, drizzle with the oil and season with a pinch of salt and plenty of black pepper. 

Place under the grill for 3 minutes.


Remove the mushrooms from the grill, dot on the Goat's cheese and sprinkle with the pine nuts.

Place the mushrooms back under the grill for a further 2 minutes until Goats cheese is further softened and pine nuts are toasted. The pine nuts need to be watched as they will burn if left under the grill for too long.

Sprinkle on the snipped chives to serve. 

Served with homemade spicy tomato relish, or any savoury relish, in my opinion these rival any meal served in a cafe for brekkie. Add delicious bread on the side if you wish.

Beef stir-fry anyone?

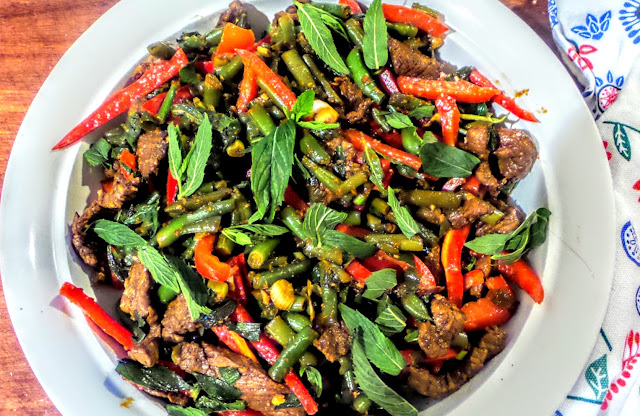
Given the unbelievably high price of beef at the moment, and showing respect for the mission by many that we reduce our meat intake for the sake of our own health and for the health of the planet, I now think really seriously about how I'll prepare the meat that I buy. This beef stir-fry with a citrus kick was worth the little extra effort required to take it from the level of a quick "throw all in the wok" stir fry, to one with marinated very tender beef, and delicious flavours with a kick of lime. You can find the full post on the recipe at this link. I'll definitely be making this one again.

Beef Stir-fry with a Citrus Kick

Recipe serves 4

Ingredients:

Preparation 15 minutes + 15 minutes marinating time. Cooking time: only 10 minutes because it's a quick stir fry.

400g - 500g rump steak, Scotch fillet, or even Sirloin steak, thinly sliced across the grain into 6 mm thick strips (marinating the meat will give very tender results). I used Rump steak.

2 tbs fish sauce

2 tbs soy sauce

2 tbs vegetable oil divided

1/4 tsp cornflour

1 red capsicum, seeded and thinly sliced

200g green beans, trimmed and halved diagonally

1/2 cup (70 g) thinly sliced shallots

1 tbs finely chopped garlic

1 tbs finely chopped ginger

1 cup coriander leaves, divided

1 cup mint leaves

1 lime juiced, divided

1 tbs sugar

Steamed rice to serve

Method:

  • Prepare the fish sauce, soy sauce and sugar in a small bowl by whisking it until the sugar dissolves. Place the sliced beef in another medium sized bowl, add 1 tablespoon of the soy sauce mixture and mix the sauce into the meat. Set the bowl of meat aside for 15 minutes to absorb the flavours. I marinated mine for 2 hours, covered the bowl and stored it in the refrigerator, until ready to use, as I had the time to do that. 
  • Whisk the cornflour into the remaining soy sauce mixture and cover.
  • Remove the beef from the bowl and pat it dry with a paper towel. Add 1 tablespoon of the vegetable oil to a large hot frying pan,  and add the beef, spreading it over the base of the pan in a single layer. Without stirring the beef or touching it, cook for 2 minutes until well browned. You can see why the pan needed to be hot to begin with. 
  • Stir fry the beef, and continue to stir and fry it for 40 seconds until cooked through. 
  • Transfer the beef now to a plate with a rim to catch the juices.
  • You are now ready to cook the vegetables. 
  • Add the remaining oil, (1 tablespoon), and the capsicum and beans and cook for 2 minutes until the vegetables soften slightly. Stir and fry the vegetables. You want them still quite crisp. Stir in the shallot, garlic and ginger,
  • Add the remaining soy sauce mixture, and the beef and the juices to the pan with the vegetables. Stir and fry for 1 minute until the beef is just heated through, the vegetables are tender, and the sauce has thickened slightly. 
  • Take your frypan from the stove and stir in half the coriander leaves, the mint leaves, and the lime juice. I can't emphasize enough how important it is to add the lime juice and at least one of the herbs.
  • To serve divide the rice among the serving bowls. Top the rice with the beef stir fry, and drizzle with the remaining lime juice and for presentation, sprinkle with the remaining mint and coriander leaves.
  • Serve with extra lime wedges if you have them
Regardless of what else is happening, I always find time to read. During a very busy time while we were away in Cairns, this book by Australian author and doctor Joanna Nell, was an interesting and relaxing read.  She navigated some of the politics in hospitals and how a dedicated group of volunteers found a way to deal with the bureaucracy. I enjoyed it. 


There's a strong synergy between a lot of what we grow in our garden, and what I cook with in my kitchen. We try to grow as much as we can given space constraints, and the time of the year. Let's face it though, growing our own produce presents challenges, and there's a lot of trial and error with growing fruit and vegetables for our own use.  However, growing what is suitable in our tropical climate is the key for us, that's not rocket science I know, even though at times we've tried growing a pomegranate tree, a finger lime tree (that should have grown well), vanilla bean vines, and other more exotic plants, but the pests and bugs can make life very difficult and know how to completely ruin our efforts. So here are a few photos of what we are having success with at the moment. These were taken before storms and showers over the last few days, and as I write this, Mr. HRK is out in the garden pruning and tidying up, and just enjoying the garden under slightly cooler conditions.

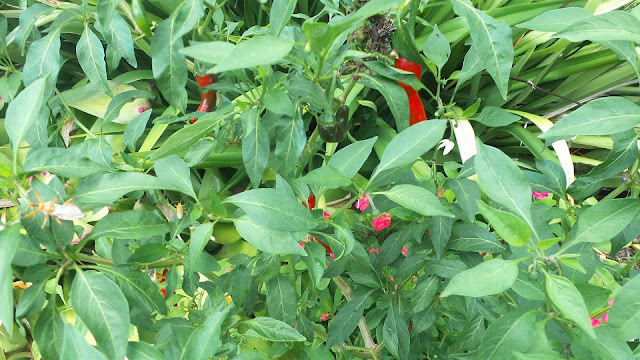
There's always a chilli bush or two growing in the garden, and it's great to be able just to pick them as needed for so many dishes I cook. If I had been in my own kitchen at home, I would have used one of these in the Beef stir-fry recipe above.


The odd bunch of chillies just picked. They still taste great though.


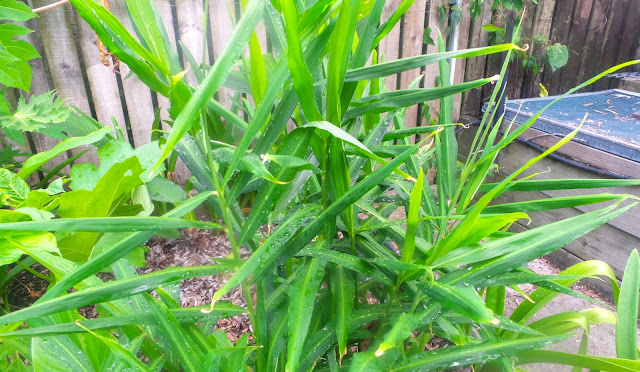
Edible ginger and turmeric thrive in the Summer garden in the tropics. 


The lush turmeric is flowering, and the pineapple sage in front with the pink flowers
 is such a survivor.

Our edible ginger is looking very healthy after the rain and will be ready for harvesting quite soon, however in the meantime it's great to be able to dig some up when required.


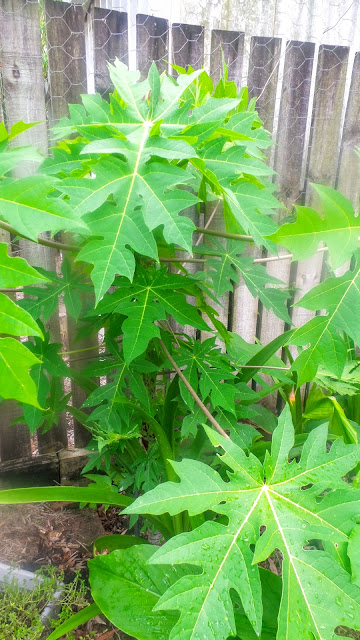
This Paw Paw tree below self seeded, so time will tell if it is bi-sexual, and actually bears fruit, or if it develops a disease such as bunchy top.I have high hopes for this one. Fingers crossed.


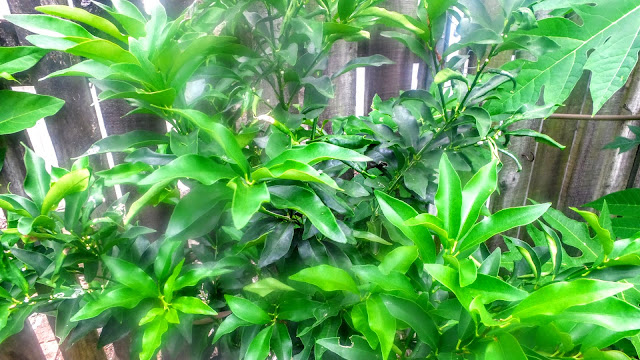
We have a cumquat tree, which is just beginning to flower. Can you see the small white buds on these two photos. I'm hoping that by the end of Winter there will be enough fruit to make some more 
cumquat marmalade.  It's so delicious and a precious commodity.


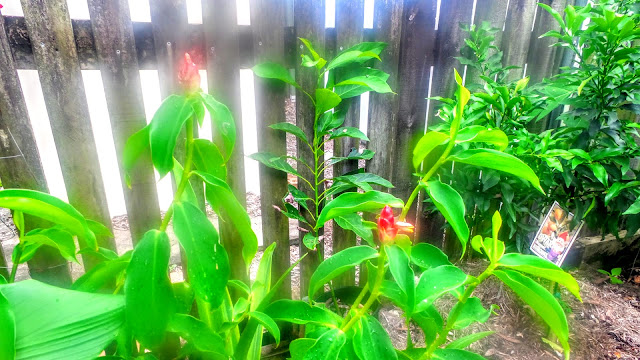
These are photos of some not so edible gingers growing in the garden, They bring beautiful colour, joy and biodiversity to our garden which is important.

This newly planted red ginger is growing in its own garden next to the cumquat tree.


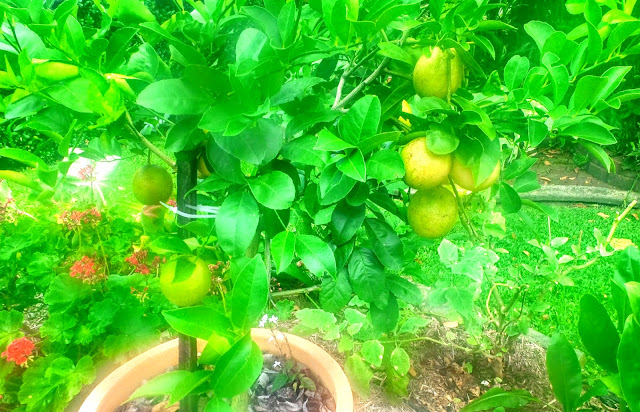
This very happy lemon tree was the subject of a recent post of mine. I used the first lemons to make some very nice little lemon puddings.


If you missed the post about these lemon puddings here is the link to find it.


Lemon puddings with a topping of homemade lemon curd. Yum!

Our wonderful friends P & J, brought us back this bag of roasted coffee beans grown near Byron Bay. We are so excited about trying this coffee. They were in Ballina in New South Wales, and thankfully weren't trapped by the floods for too long as so many were.


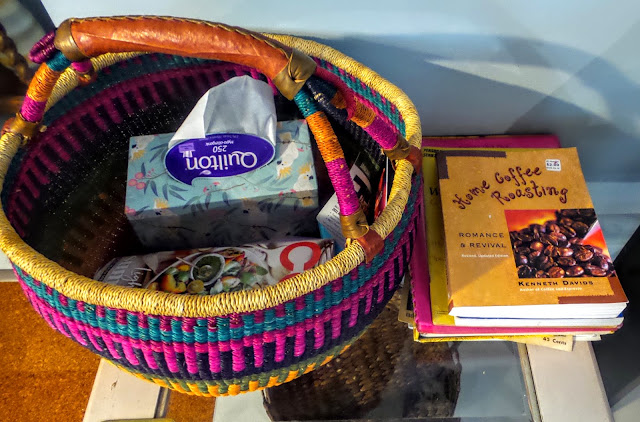
A new Market basket that I bought will be very useful, when I head off to market.


I made my first sourdough loaf of bread for quite a while. Now that the weathers a bit cooler I'll get back into more baking. Bread is such a staple, and sourdough bread is good for our wellbeing. I wish I could send some bread to the people left in the Ukraine, I doubt they are in a position to be making bread. It's all so sad.


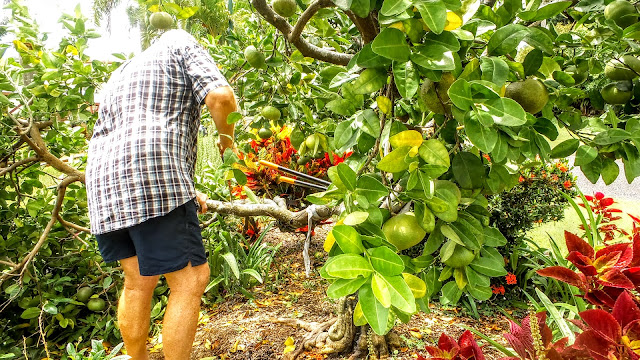
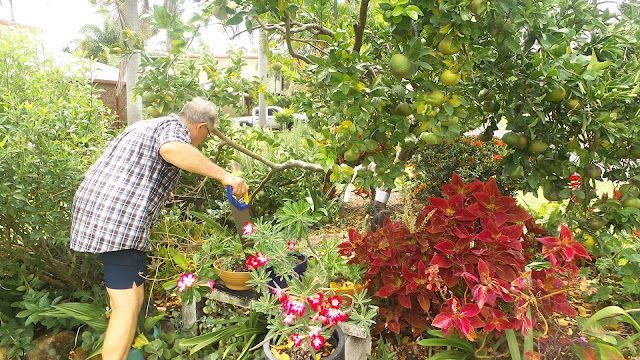
Hot off the press, we just discovered that our 15 year old Mandarin tree, was damaged during last night's storm. A large branch which is about 1/3 of the tree broke off. The tree is heavily laden with fruit, so we estimate about 100 mandarins were on that branch, and it was probably just the wind and the heaviness of the branch that caused it to break. So Mr. HRK has been busily sawing off the remaining branch. I am hoping I can salvage some of the green fruit to make jam or something else. Do you have any ideas? There is a hint of yellow on some of the fruit so they are beginning to ripen. If a cold snap comes during Winter, the remaining mandarins on the tree should be nice and sweet.

The broken branch to the left


I am sending this post to Sherry of Sherry's Pickings for the In My Kitchen event. If you would like to join in, send your post to Sherry by 13th of the month. Or just head over to her blog to visit more kitchens.

Watch this space for an update on our backyard Italian beehive, in a future post. There's been a lot of activity in the bee world in our back garden.

That's all for this edition my friends, there is work to do in the garden.
Have a nice weekend.

Warm wishes,
Pauline


Thursday, May 6, 2021

In My Kitchen - May 2021

It's citrus season, and Dried Mandarins feature in this edition of the May IMK. Where did April go? And now that it's May, the weather here in the Tropics of North Queensland is cooling down so we are spending a lot more time in the garden preparing the garden beds for Winter planting, and also it is really a pleasure now to be preparing delicious food in the kitchen. 

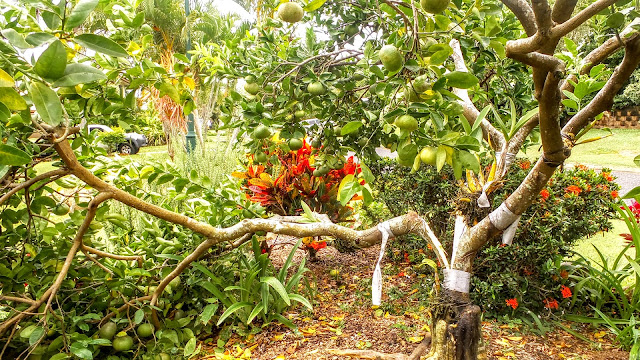
A lot of the activity in my kitchen this last month and in Mr. HRK's workshop, has been centred around the mandarin fruit. The branches of our mandarin tree in the front garden have been sagging to the ground with the weight of the mandarins it is producing. Even though the skins hadn't ripened, and are only just starting to ripen now, the flesh is sweet, and we needed to pick some of those mandarins to ease the load off the tree, and then find  a way to use them, as well as give a lot to friends. We also needed to find a way to preserve them. Did you know that even though the skin of the mandarin fruit is still green, the fruit can be ripe enough to eat, and in fact be very juicy and delicious? It takes a cold snap in the weather, which we are really still waiting for, for the skins to change colour. We also don't have a clue what variety of ,mandarin this tree is. 

When my Mum passed away on the 13th May, 13 years ago, just after Mother's Day, my Aunty Mary, my Mum's stepsister, gave me a mandarin tree to plant in memory of Mum, a lovely and very thoughtful idea. That was in 2008, so the mandarin tree is 13 years old, and this is the best crop it has yielded. This is all very special to me as my Mum would have been 100 years old this year. During those 13 years due to the tree's lack of interest in producing fruit, Mr. HRK  has threatened it, cajoled it, fed it, watered it, but not hugged it, however something has worked because this year it has excelled itself, just when seriously it was under threat of  being faced with it's demise. Because of it's sentimental value to me, of course I have protected it, or it might have met it's sad end a few years ago, but it just shows that trees have feelings and after 13 years it is coming into its own, a late bloomer. Sadly Aunty Mary is also no longer with us either, but I will let my cousins know this story. We never found out what the variety of this mandarin is. But it is a large fruit, thin skinned, with very few seeds and very sweet. If you have any clues as to what it is I would love to hear from you. Anyway it has adapted to living in the tropics, like all of us.

These are the fruit just starting to colour up. There are a few green ant nests in the tree as well just for added value.

This is the mighty mandarin tree in our front yard  surrounded by some tropical colour; Coleus, Ixora, a Desert Rose, purple ground Orchids, Geraniums and the large leafed exotic Caladium with a pink heart. Around the  base of the tree is well cleared though as it needs to be.

And bucket loads to give away.

However when we started thinking about how to preserve some of them, Mr. HRK was very keen to experiment with dehydrating them. So the dehydrator moved into his workshop to work away quietly during the night, and off  we started. Well the good news is that they are delicious dehydrated, and will keep bottled and well sealed in a cool place for 12 months. For the first batch we tried, we left the skins on the fruit when we sliced them up, however because the skin was still green, the fruit tasted quite tart when dried. However if you can dry them with the golden skin still on the fruit they will look very pretty, even prettier than mine:)  I hope that enough fruit will survive the bugs and not become stung by fruit fly before they ripen enough to pick them, so we can dry some more with the skin on. That was another reason why we were fearful about leaving the fruit on for too long, as the fruit fly wreak havoc on citrus in our part of the world. We try to spray with eco friendly sprays and hang bottles of various concoctions from the tree guaranteed to repel the bugs but some fruit still gets stung. 

This was our second batch where Mr. HRK removed the skins, and sliced the mandarins as finely as he could, and then dried them in our dehydrator overnight.

Then I decided to sprinkle a spice rub over the next batch before drying for some extra flavour, which took them to another level, and this photo below is the result. We have taste tested them on friends, and I recommend this method to you for oranges and mandarins. Bottle them up, label them, enjoy them at home, and they will also be delicious edibles to give as gifts. I still need to print off some labels, but they look really nice bottled in jars. 

 We are now sprinkling the mandarins over our cereal in the morning as well. We also dried some pineapple slices which is more popular and commercially available for sale than the mandarin, and we think it's delicious as well, and great for a snack if you are travelling.


Here's the very simple  recipe for the spice rub that I used.

SPICE RUB FOR DRIED MANDARINS

Ingredients:

4 large mandarins or oranges thinly sliced

1/2 cup coconut sugar

1 teaspoon ground cinnamon

1/4 teaspoon ground ginger

large pinch of sea salt

Method:

Fruit can be dried in the oven or in a dehydrator or even in the sun. Using the dehydrator is an easy way to do it as it can work overnight, and if not quite dry enough in the morning, then adjusted by the hour until the fruit is just right.

Wash and dry your fruit, then cut them into very thin slices, (as thin as possible)

Mix the spices and the sugar in a bowl and sprinkle evenly over the mandarins or oranges

Layer them on dehydrator trays, or if you want to use your oven, dry them on trays lined with baking paper at 200 deg. F for 2 1/2 to 3 hours. They may take longer.

We were using two dehydrators by this stage.

When dried, they can be stored in ziplock bags, or in bottles. Store them in a cool, dry place and they should store well for 12 months. In my neck of the woods, the humidity can cause problems, so they need to be packaged as soon as possible.

Dried mandarin or orange slices can also be added to decorate a cocktail, a fruit shrub, or any drink really. There are endless possibilities to how they can be used, only limited by our imagination. The flavour is really developed by the drying process.

The other day, whilst I was cooking a chook with stuffing in the oven for lunch, I made a Banana Sultana cake and to save time and electricity, I baked it in the oven with the chook. The cake was delicious, so was the chook by the way. I used some dried mandarin to decorate the top of the cake before baking. The dried fruit browned off a little too much for my taste when it was cooked, however it didn't take away from the overall success of the cake at all. This cake was just so delicious straight out of the oven that I will definitely be baking it again. I can't see any reason not to add both walnuts and sultanas if I have the ingredients on hand. This is a photo of my cake before it went into the oven.

Here is the recipe, which just happened to be on the back of a Sunbeam sultanas packet. I think the sugar content could be halved if you are watching calories, and this would still be to your taste.

Banana Sultana Loaf

Ingredients:

70 g butter

1 cup brown sugar

1 egg, beaten

3 ripe bananas, mashed

1 1/2 cups self raising flour

1 cup sultanas

2 tablespoons milk

Method:

Preheat oven to 180 deg. C.

Grease and line the base of a loaf tin, mine measured 22 cm x 12 cm and was perfect

Beat the butter and sugar together until light and creamy, add the beaten egg, and then add in the bananas one at a time


Add the flour, sultanas and the milk and stir by hand to combine

Pour the mixture into the prepared loaf tin and bake in the oven for 45 minutes. AT the end of the cooking time, insert a skewer into the centre of the cake and if it comes out clean it is cooked.

Cool in the tin and then slice to serve while it is still warm and enjoy. 

When I was growing up and still living in my family home, I remember  that this kind of cake was often served warm and with butter spread on it, gosh we were naughty back then weren't we, but it was so very good.

If you read my blog regularly, you will already know that I play Mahjong once a week, and as well as having the fun of playing Mahjong with friends, we also enjoy some delicious cake at each others homes. This week was my turn to host Mahjong, and I made my Ginger Syrup cake, which is a recipe I really enjoy making, and this time I decorated it with a slice of the dried mandarin. The ladies really enjoyed it. The cake recipe is now being distributed to all the Mahjongers. You can find it at this link. The flavours of the spice rub and the intense ginger flavour of the cake complimented each other perfectly, all enhanced by the wonderful espresso coffee  made by our barista for the afternoon, Mr. HRK.


This month we also enjoyed cooking up a Turkish Feast on Anzac Day, always the 25th April, and if you missed that, here is the link.

The weather here has plummeted to 14 degrees this morning, so a pot of my healthy and delicious Green coconut cheesy soup is on the stove right now, ha, ha. Bring on soup weather.

Well that's it from me for this edition of In My Kitchen. This is part of the IMK event hosted globally by Sherry from Sherry's Pickings, where lots of bloggers participate to showcase the highlights of what they have been doing in their kitchens for the month.

Take care, and thanks for dropping by,

Best wishes,

Pauline