Who would have thought that Portuguese Custard Tarts would be so simple to make in a standard Pie Maker? Please believe me they are. However if you don't own a Pie Maker, don't despair, this recipe can easily be adapted to a normal oven. We bought our Pie Maker originally from K Mart, (no advertising intended), it wasn't expensive, but it does the trick.
Hello, I'm Pauline, a passionate home cook with over 40 years of recipe development experience and over 12 years of food blogging. I live in Tropical North Queensland. What began as a simple way to document family recipes has grown into Happy Retiree's Kitchen, a trustworthy source for achievable, delicious recipes. I'm a self-taught cook and food and travel blogger, and have spent over a decade perfecting how to make home cooking achievable, flavoursome, and very accessible. Let's cook.
Sunday, April 13, 2025
Saturday, December 16, 2023
Portuguese Custard Tarts cooked in my Pie Maker amid Cyclone Jasper
Why travel to Lisbon or anywhere else in Portugal to enjoy their famous Portuguese Custard tarts, when you can make them in your own kitchen at a fraction of the cost, and honestly they are just as delicious. We holidayed in Lisbon about 15 years ago, and we really did enjoy their custard tarts, note the plural, every morning with our espresso coffee along with the locals, but now I am just happy to cook and eat them in my own kitchen. It's cyclone season here in Far North Queensland, and Cyclone Jasper has been and gone.
Thursday, December 1, 2022
Vanilla Custard made from Scratch
There are so many beautiful things involved with cooking your own custard. The result is just delightful. Making your own, without a packet of Foster Clark's custard powder to be seen is a labour of love, but so well worth it. Allow an hour max to make it. On the day of THE big event such as Christmas lunch, if you making it to have with Plum Pudding or dessert or even for an evening dinner, I would suggest making it first thing in the morning, even before you open the presents, and then it's done. In my part of the world in North Queensland, that's how we beat the heat on Christmas Day. Your custard will keep in a covered jug, on your kitchen bench until you are ready to serve it. This recipe is Part 2 to my previous post on how to cook your own Christmas Plum Pudding. This is the perfect custard recipe to serve with your Plum Pudding, with Apple Crumble, or another type of fruit crumble.
Using a precious Vanilla Pod is very special and gourmet in cooking, and brings a unique flavour to the custard. However, Vanilla Custard was made from scratch many years ago before we had access to vanilla pods, so good quality vanilla extract or vanilla bean paste will still work beautifully. It is definitely acceptable to substitute vanilla extract for the vanilla pod. However, vanilla essence can be of poor quality, so it is preferable to use a teaspoon of vanilla extract, not essence, or a teaspoon of vanilla bean paste will still disperse those beautiful flavours of vanilla through your custard.
Did you know you can make your own vanilla extract quite easily by steeping 3 vanilla beans in 1/2 a cup of cheap vodka for about 4 weeks. This is all that vanilla extract is. You can find out more about how to make your own vanilla extract in a previous post I have written, at this link.
Before I made this jug of custard I compared Jamie Oliver's recipe to my family recipe, the one that we always used at home, and the only real difference was the use of the vanilla bean. There are many fancier ways of making vanilla custard from scratch, and Jamie Oliver has a great video and recipe which uses cream and milk and serves more people, but I am happy to use this more cost effective one, using more full cream milk and without the bottled cream. On Christmas Day, a custard without even more calories suits me just fine. It still tastes delicious and with a beautiful consistency.
Ingredients:
Makes 500 ml, and serves 4-6 people. Allow an hour cooking time
600 ml full cream milk
4 large and very fresh free-range egg yolks
1 vanilla bean
2 tablespoons caster sugar
1 tablespoon cornflour
Method:
Halve the vanilla bean down the middle lengthways and scrape out the seeds with the tip of a knife.
Separate the egg yolks from the whites, and if you don't intend to use the whites in the short term, I suggest you store them in a covered container in the freezer for that pavlova you are making in the future.
Add both the bean and the seeds to a saucepan on a medium-low heat, pour in the milk and bring the milk just to the boil. You will know this is starting to happen when light steam evaporates off the milk.
Take the saucepan off the stove, and leave to cool slightly, then remove the vanilla beans.
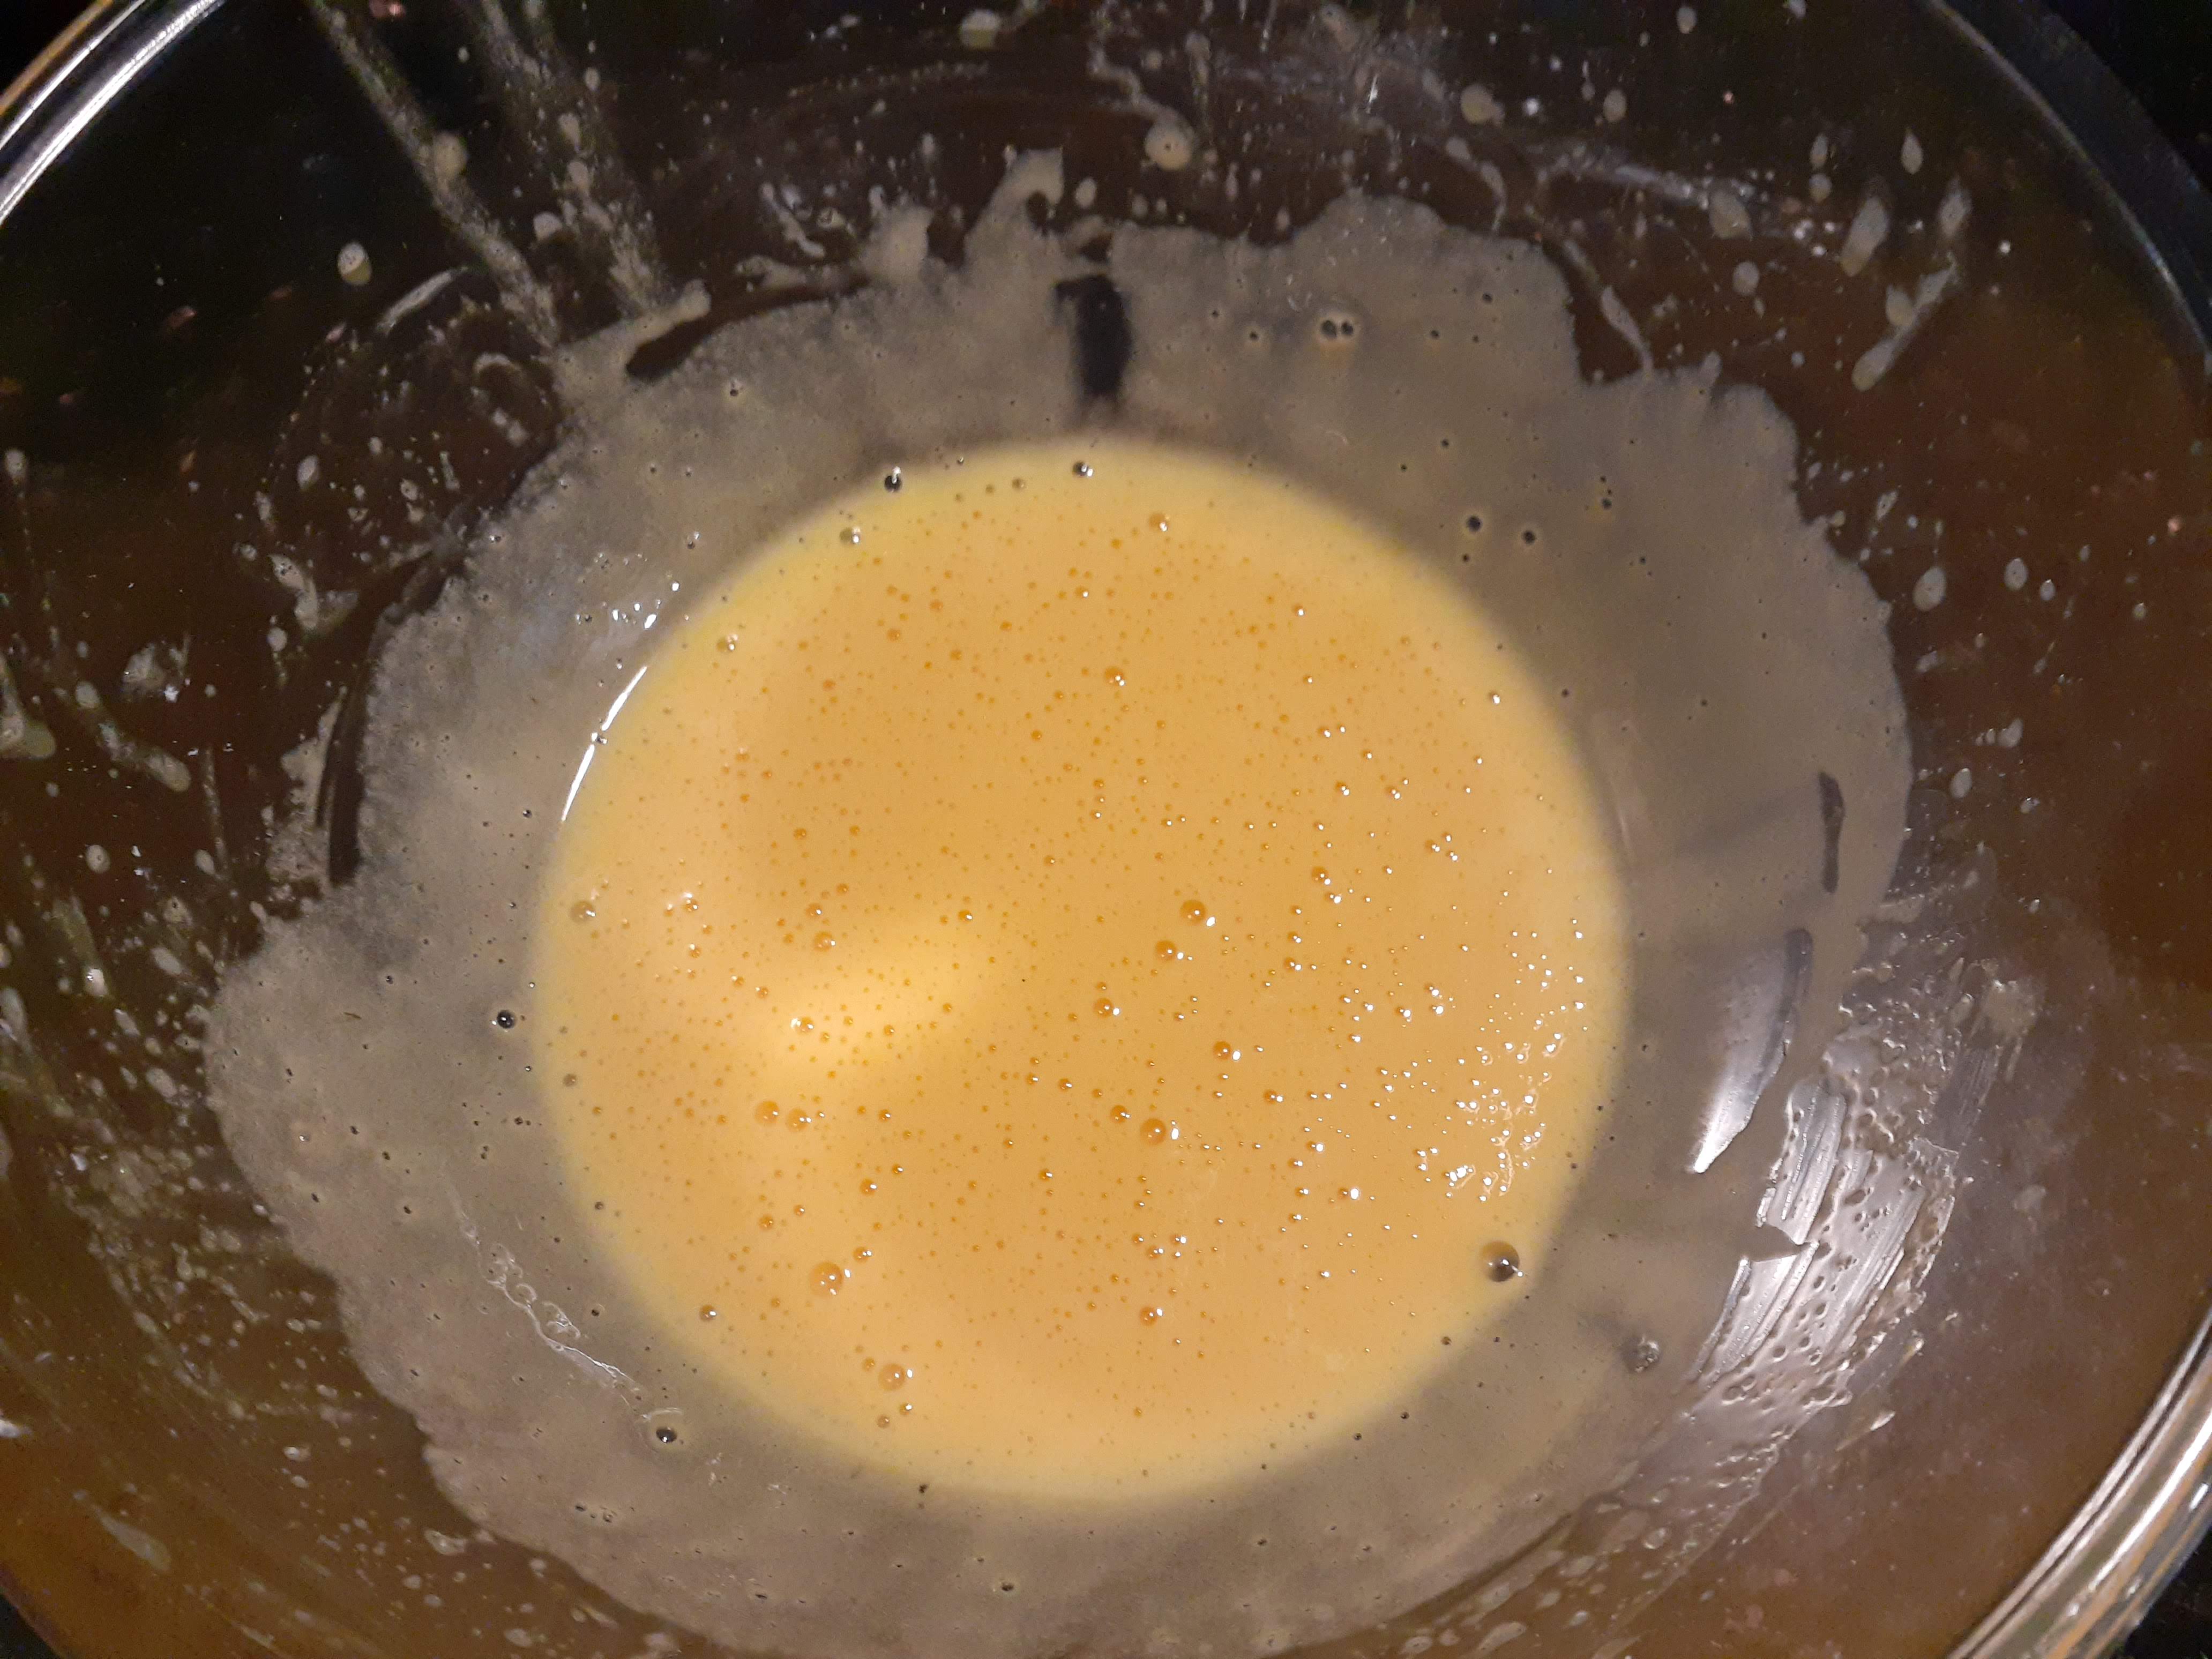
Meanwhile whisk the egg yolks with the sugar and cornflour until pale. (I started this before I heated up the milk.) My eggs never became really pale as I used large, organic, free range eggs from a local supplier. They were expensive, but I thought it was worth it.
Pour a ladle of milk into the bowl and whisk well.
Then gradually add the warm milk, a ladle at a time, whisking well each time.
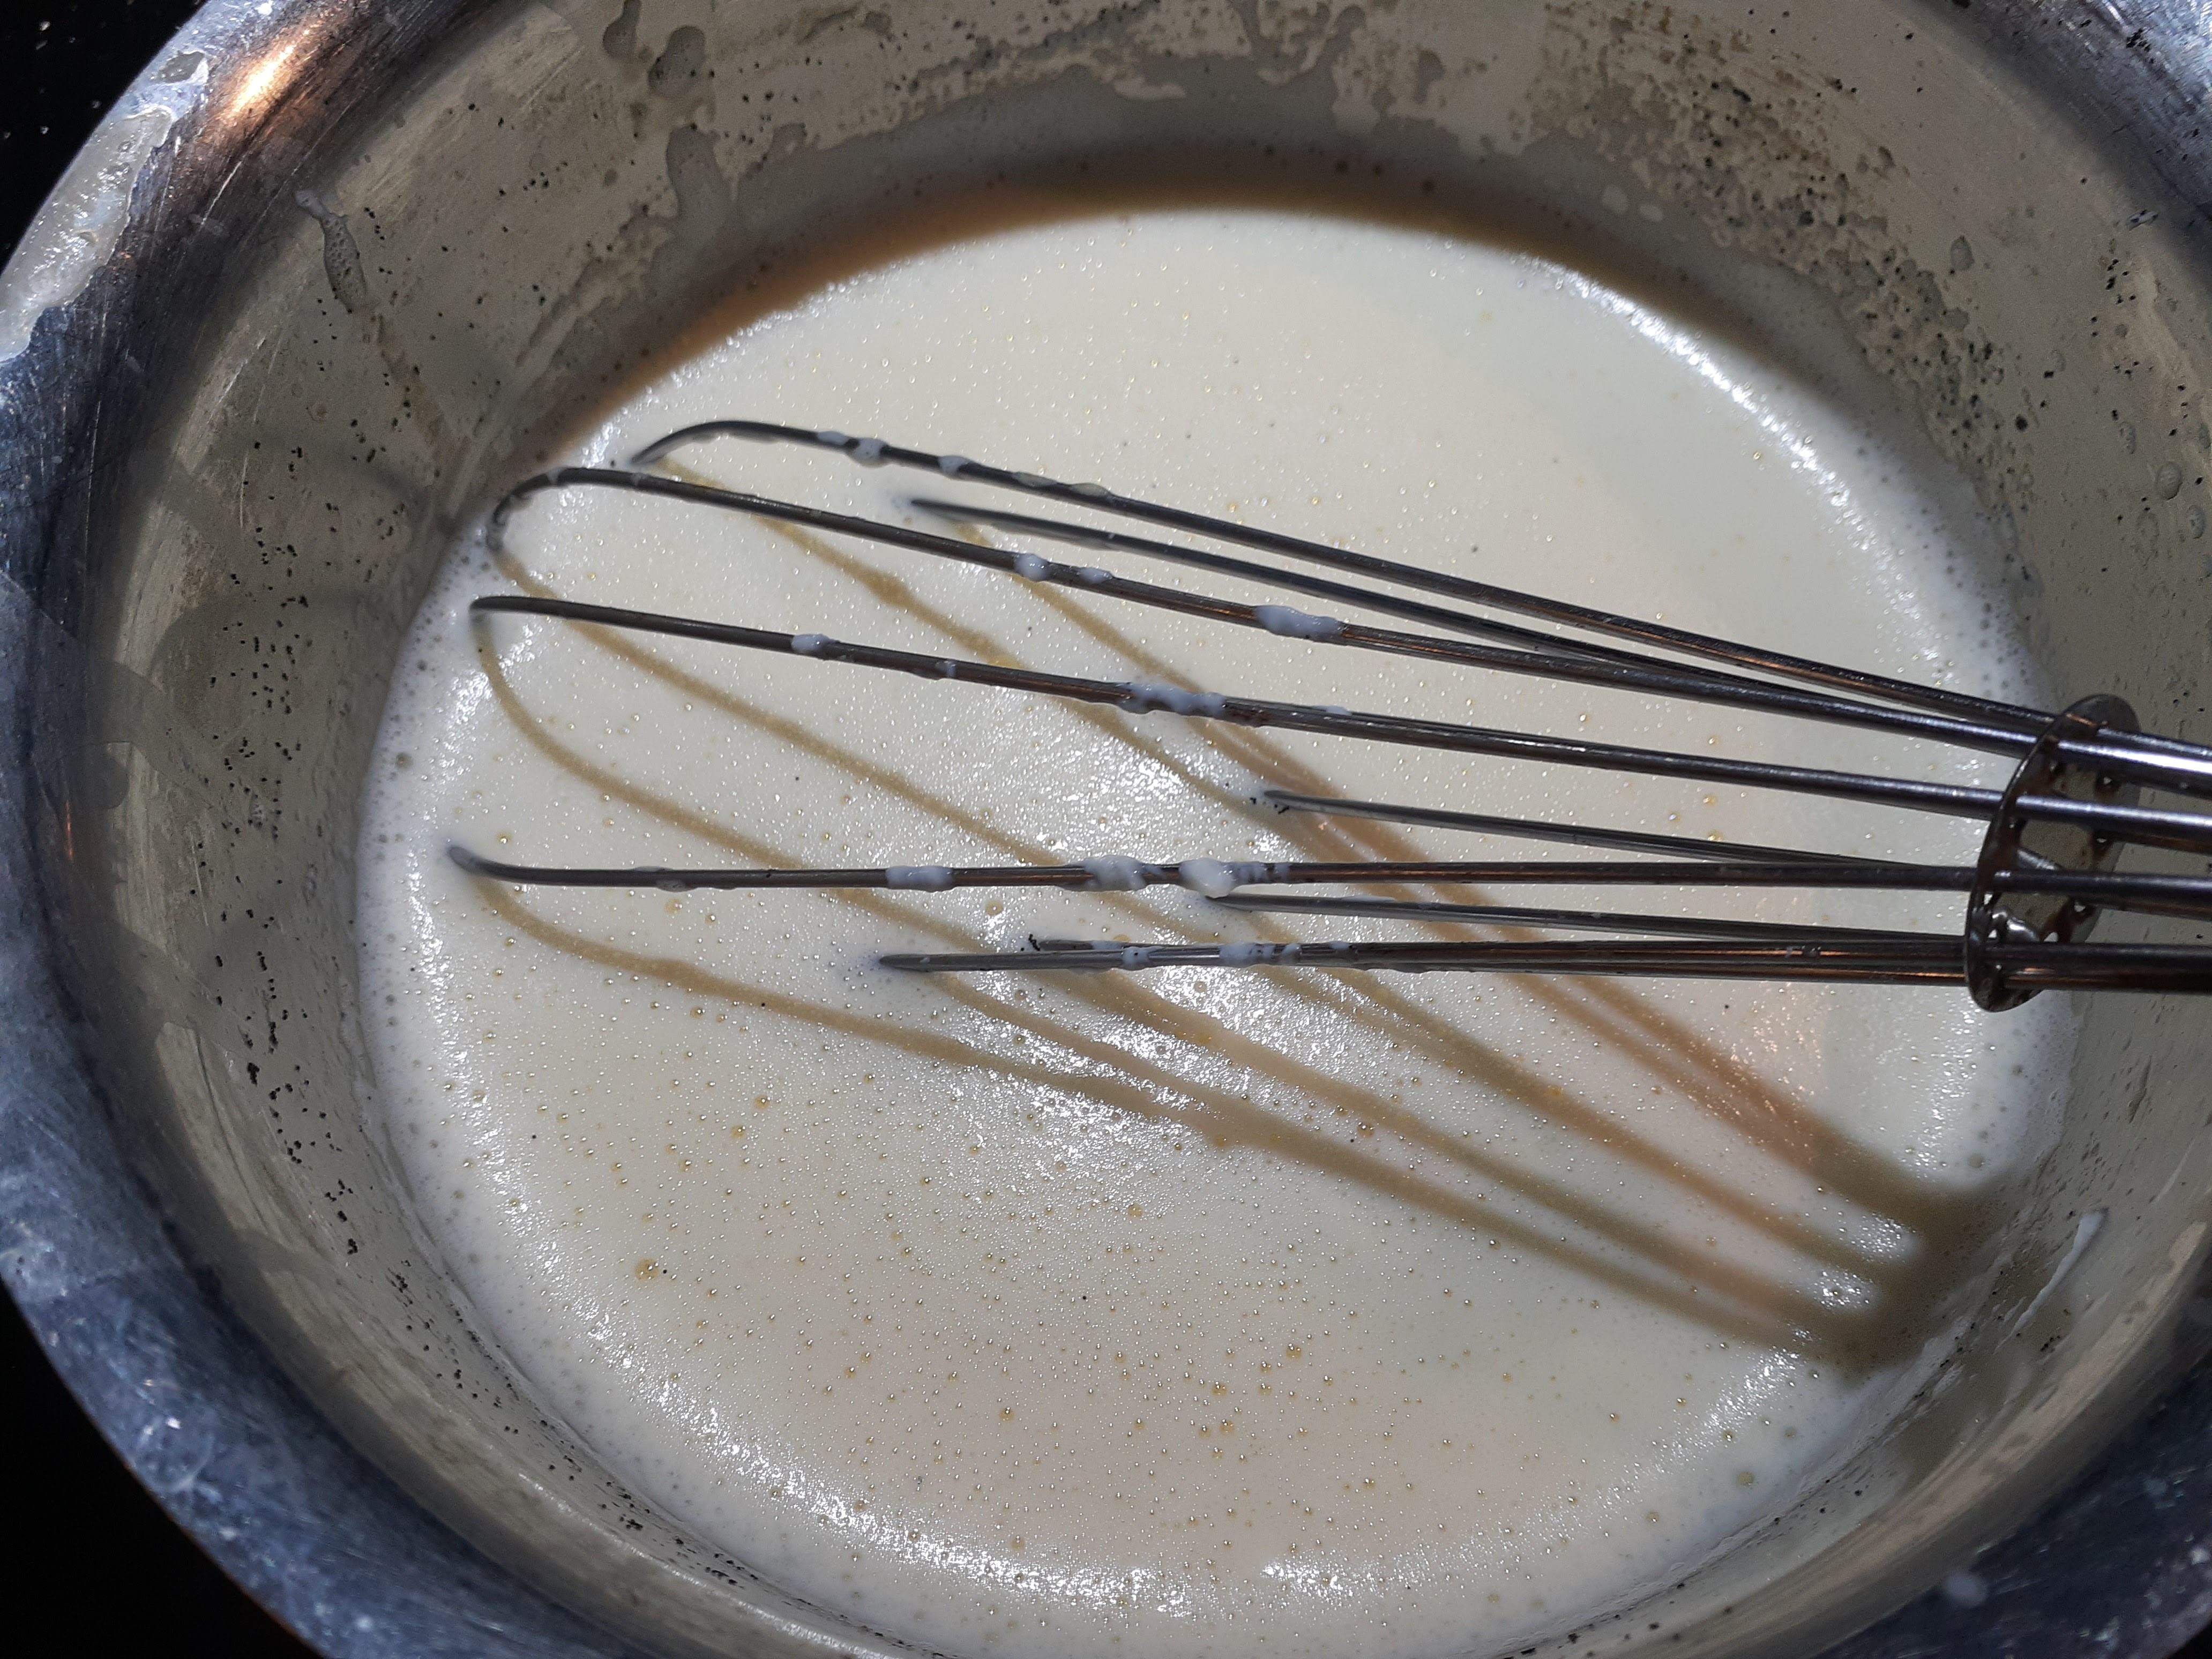
Pour the milk mixture back into the saucepan and cook gently on a low heat for about 20 minutes or until thickened, lightly whisking continuously in a figure of 8 motion. Please don't leave the stove or allow yourself to be interrupted during this process. It's only for 20 minutes at the most. Your reliable kitchen apprentice could help with this.
To check if the custard is thickened, dip a wooden spoon into the custard, and run your finger along the back of the spoon. If this leaves a line through the custard it is thick enough.
This custard is delicious served with Christmas Plum Pudding, and any type of fruit crumble. You can find the link to my recipe for Christmas Plum Pudding here.
Friday, October 21, 2022
Cherry Clafoutis
Cherry and stone fruit season is just around the corner for us here in Australia, so not to be deterred due to a lack of fresh cherries, I have chosen to make this delicious dessert using pitted Morello Cherries. They work beautifully in this French flan which is also a kind of baked custard. Baking this Cherry Clafoutis is the beginning of my plan to start cooking easy dishes with a French theme, as I am travelling to France next year in Spring to visit M & M and our three grandchildren, who are currently living in Montpellier. I finalised all of the air fares this morning, so it seems real now. I am so excited but also a little nervous as I am travelling on my own. Mr. HRK has decided not to go as it is a heck of a long way on a plane from Australia and last time we flew to the Falkland Islands and South America he experienced a lot of pain with his sinuses. His back doesn't cope well with all that sitting either so I'm being very brave and hoping that my smattering of French, the Aussie accent and a smile, will encourage people to help me navigate Charles de Gaulle Airport if needed. I've flown into there before, but it's been a long time. I just can't wait to see my grandchildren again.
A Clafoutis is a French dessert likened to a French flan, and with interesting rural origins. It is most commonly thought to have originated in the countryside around Limousin, which is slap bang in the middle of France mostly atop the Massif Central, and sometimes referred to as France's rural heartland. This is an area I would love to visit. Did you know the name of the Limousine vehicle is thought to have originated from Limousin, because of the resemblance between the covered portion of the vehicle and a popular style of black cloak worn in Limousin for warmth? Makes sense eh?
I take travel seriously these days, so I'm attempting to improve my schoolgirl French, read some of the French cookbooks sitting on my bookshelf, watch some French cooking programs, and make some recipes like this one to whet my appetite for French food. That's the food and language boxes ticked. I saw a Cherry Clafoutis made by a French chef on TV recently, however never having made a Clafoutis before I thought I would make a simpler version which I could easily replicate in my son's kitchen and which would be suitable to cook for my grandchildren. French desserts can be anything from elaborate and decadent to simple, rustic and delicious. I'm starting with the latter. This one is very low on sugar, and therefore suitable for serving to the whole family, and very quick and easy to make. A great place to start. It is also very versatile as lots of different fruits can be used, stone fruits such as apricots, peaches and plums are also perfect. I'm really looking forward to stone fruit season in a month or so.
This is really a French baked custard, and can be your Summer go to dessert. It just might be ours. Almond flour can be substituted for plain flour to convert it to gluten free, however the eggs can't be replaced, they are the essential custard ingredient.
I adapted this recipe from one by Jamie Oliver.
Bon appetit.
![]() |
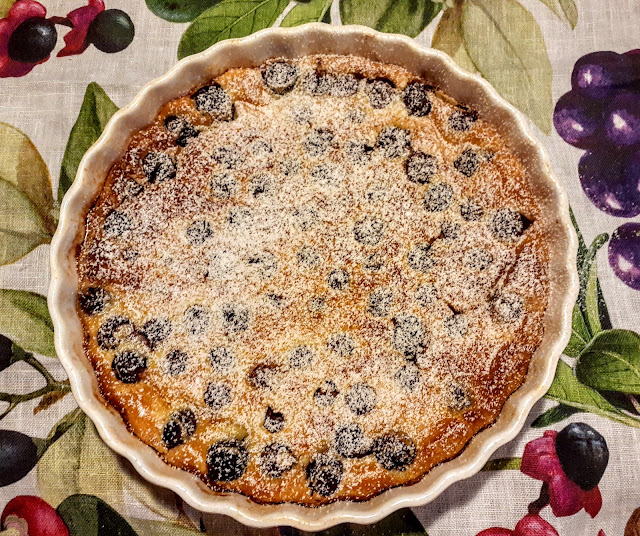
| Straight out of the oven |
Let's cook:
Serves 4-6
Cooks in 50 minutes plus resting
Ingredients:
300 g pitted Morello Cherries or use fresh, preferably stones removed, if you have them
1/2 tablespoon unsalted butter, at room temperature for greasing
1 tablespoon caster sugar
icing sugar. for dusting
BATTER
60 g plain flour
1/2 teaspoon baking powder
3 large free-range eggs
60 g sugar
METHOD:
Preheat the oven to 180 deg. C./gas 4.
Grease a 25 cm round ovenproof baking dish with the butter. Sprinkle the sugar over the base.
Add all the batter ingredients with a pinch of sea salt to a food processor bowl and mix until there are no lumps and totally smooth.
Set aside the mixture in a largish jug for 20 to 30 minutes. I balanced my food processor jug over the bowl so that every last drop of batter drips into the bowl, or just use a spatula. It's much easier to pour the batter into the baking dish from a jug with a pouring lip than from my food processor bowl.
Dot the cherries around the base of the baking dish. If you are using fresh cherries, you can soften them up a bit by placing the dish in the oven for 5 minutes.
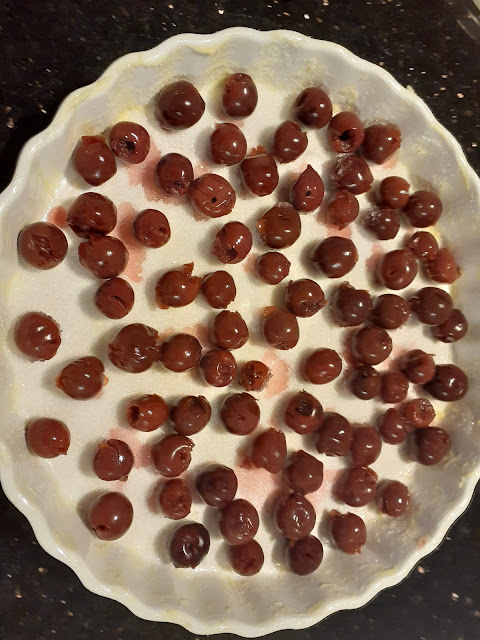
Remove the dish from the oven and carefully pour the batter over the top of the cherries, without moving the cherries, and the cherries are just covered.
Return the dish to the oven and bake for about 30 to 35 minutes, until it is beautifully golden and puffy. Like a souffle, the clafoutis will lose it's puffiness quickly however that doesn't really affect the taste or texture. Such a shame though isn't it? Allow the dessert to cool slightly to lukewarm.
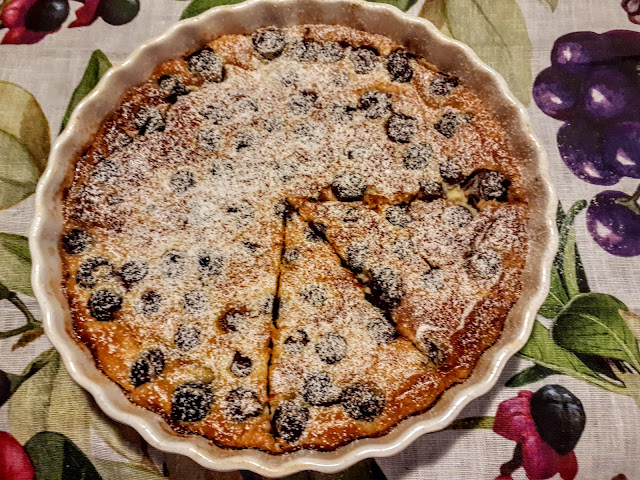
When lukewarm, sprinkle the clafoutis with a dusting of icing sugar and serve with Vanilla Bean ice cream or whipped cream.
A few cook's notes: (I've learned a lot about making clafoutis)
- Sprinkle with icing sugar when the clafoutis is lukewarm and ready to eat, not when it's hot straight out of the oven, or the icing sugar will just absorb into the cooked custard.
- Clafoutis is also lovely served in individually buttered 12 cm diameter dishes. Ladle the batter over the cherries, filling to near the top of the dishes. Bake your dishes in the oven for 10 minutes or until the batter is no longer sticky when tested with a skewer or knife.
- If using individual dishes, it may also be easier for you to place the dishes in your oven with the oven shelf pulled out, and pour the batter into each individual dish, rather than trying to place the dishes in the oven without trying to spill any.
- I've read that clafoutis is delicious served up for breakfast in France and on the following day, if that is what you like, however I wouldn't recommend serving it up for dessert again the following day. Served fresh out of the oven on the day of baking gives the best result.
- Be warned, in my bottle of cherries, 8 cherries still had the pips in place.
Warm wishes and Bon appetit,
Pauline
Wednesday, August 2, 2017
Cheat's Portuguese Custard Tarts by Donna Hay @ Happy Retiree's Kitchen
If you are smitten with custard, you will love these tarts, encased in a very light and slightly crunchy tart (wonton) case. As you don't need to make any pastry, and the custard ingredients are just lightly whisked before being poured into the wrappers, it is certainly the cheat's way of making delicious custard tarts. Great idea Donna Hay, and this opens up lots of other possibilities for savoury quiches and other desserts as well.
When I first saw this recipe, I felt nostalgic for our trip to Lisbon in Portugal a few years ago where it soon became an enjoyable daily ritual to have our morning coffee with a Portuguese tart or two. I really missed those little beauties when we came home. The custard in these tarts is rich and smooth and reminds me very much of the custard in the authentic Lisbon variety which we enjoyed whilst on holiday. I just had to make them and Mr. HRK and our daughter love them so I will be baking more in the future.
I hope you enjoy them too.
Ingredients:
12-15 square wonton wrappers
1 egg
3 egg yolks
1x200 ml carton or 1 cup crème fraiche
1 teaspoon vanilla extract
1/2 cup (110g) caster sugar
1/4 cup Golden Syrup
Equipment:
2 Muffin Tin trays with 12 x 1/2 cup capacity (The recipe says this mixture makes 12, however mine made 15)
1 whisk
1 medium sized bowl
1 small pouring jug
1x1/4 cup measuring cup
Let's Cook:
Preheat your oven to 220 deg. C or 425 deg. F.
Press 15 wonton wrappers into the 1/2 cup capacity muffin trays
Place the egg, egg yolks, crème fraiche, sugar and vanilla into a medium sized bowl and whisk lightly to combine.
Pour the mixture from a jug into the wonton wrappers with care not to overfill, and cook for 10 minutes.
The custard mixture will puff up and brown lightly. Some of them may blister, depending on your oven. However when you remove them from the oven they will collapse slightly into the shell.
![]() |
| Lots of delicious gooey tarts |
Drizzle the tarts very lightly with half of the Golden Syrup and cook for a further 2 minutes to nicely brown them.
Remove from the tin and set aside on a wire rack to cool.
Then refrigerate in a container with a lid until cold.
Serve drizzled with the remaining golden syrup if you or your family have a really sweet tooth, but for my taste they are already sweet enough.
I am using a new laptop computer and adapting to quite a few changes. Lots of fun but hopefully it isn't that obvious to you at the other end.
Best wishes
Pauline
Friday, February 5, 2016
Marilyn's Heaven in a Bowl Custard
![]() |
| Custard |
CUSTARD, HEAVEN IN A BOWL
Jump straight to the recipe:This is one of those recipes which I am sure will become part of the McNee clan's cooking repertoire. Marilyn goes back a long way as a teaching colleague of Neil's, and came to the Retiree's lunch at our place last week with a plum pudding left over from Christmas, a cheesecake, and this nostalgic custard. What I love about Marilyn's generation, is that she has no qualms about taking a shortcut with her cooking when necessary, hence the use of the Vanilla Instant pudding mix in this recipe. I should also mention she taught Home Economics for many years, hence her cooking, and her dressmaking etc is highly respected.
Neil was so excited by this custard, that I felt almost guilty that I don't cook more of it for him. In this heat we are experiencing at the moment, it is brilliant to be able to just mix up the ingredients for a recipe, chill it in the frig and it is ready. No cooking involved. I took a bowl of the custard which was leftover from the Retiree's lunch over to Kati's the following day for her birthday lunch. She found it in her frig that evening, and renamed it Heaven in a Bowl. I think she and little Leon ate it all in one sitting.
Neil remembers when the Vanilla Instant Pudding craze started when he was a just a boy living in Toowoomba. He often played over at his neighbour's house in the afternoons, where they sometimes made the pudding for dessert. Occasionally he was offered some, and as a lad he was in heaven when that happened. I don't remember my Mum ever using instant puddings, except perhaps jellies, as I think she cooked most things from scratch. However, in those days in Rockhampton they didn't frequent shops or the very scattered supermarkets as often as we do now.

The addition of the sprinkle of nutmeg in this pudding gives the dish an individual flavour, akin to that of homemade custard.
- Add milk and cream to a bowl.
- Sprinkle in the pudding mix.
- Beat with an electric hand beater until the mixture is thick enough.
- Sprinkle with ground nutmeg and mix in.
- Place covered bowl in the refrigerator and allow to set. This won't take long.
- Whilst this is a custard it will set as a pudding consistency.
- Serve with fresh fruit, frozen mango, plum pudding or whatever you are serving or just eat it on it's own as comfort food.
Warm wishes,